
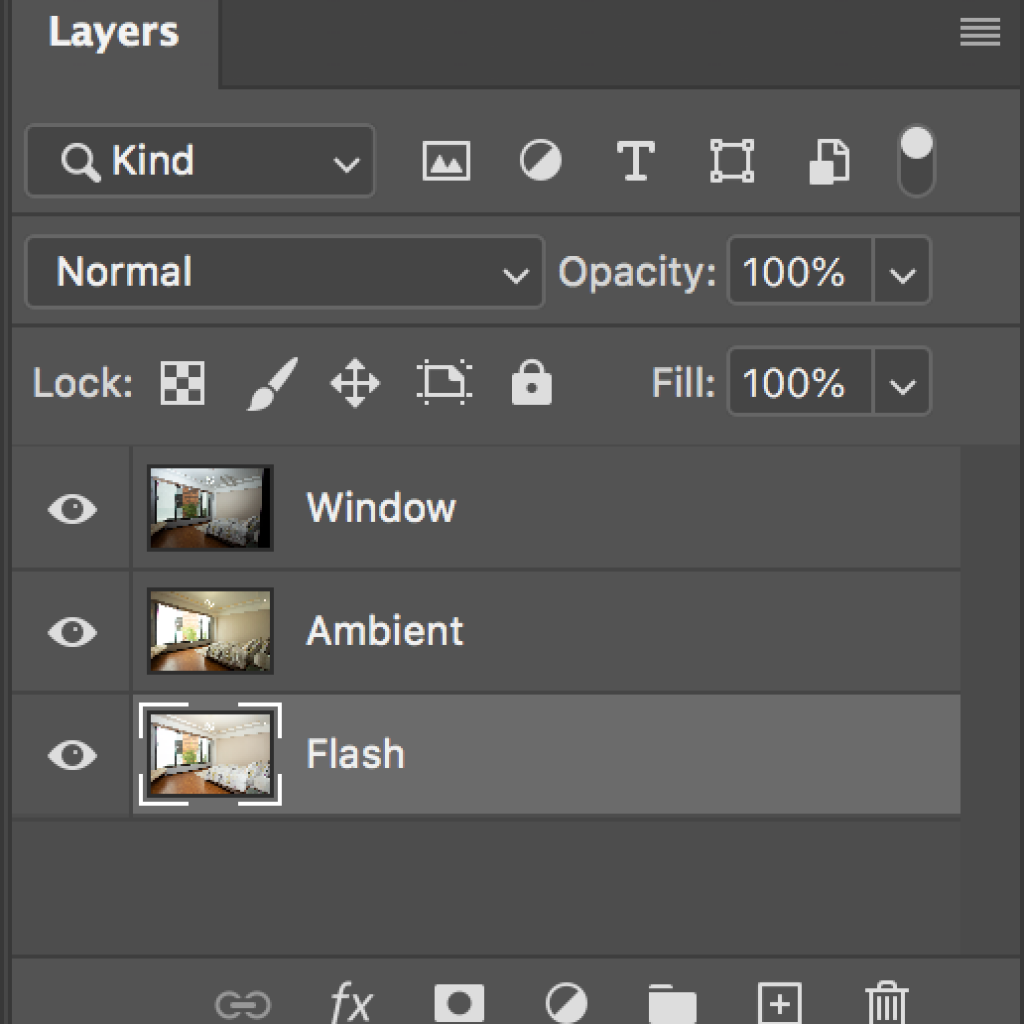
How To Shoot Flambient In Real Estate Photography


WHY INCLUDE FLOOR PLAN IN YOUR REAL ESTATE PHOTOGRAPHY SERVICES?
1 in 4 buyers said a floor plan was necessary to grab the buyer’s attention; they would “completely ignore” the listing otherwise. Also, Floor Plan is the 3rd most important feature in your listings.
Photos alone may help capture a buyer’s attention, but a floor plan will keep their attention for a longer period of time. The more visuals you can provide to buyers, the more time they will spend looking at the listing. Making the effort to obtain a floor plan also sends a message to buyers that you are professional and thorough, and that the homeowners are serious about selling.
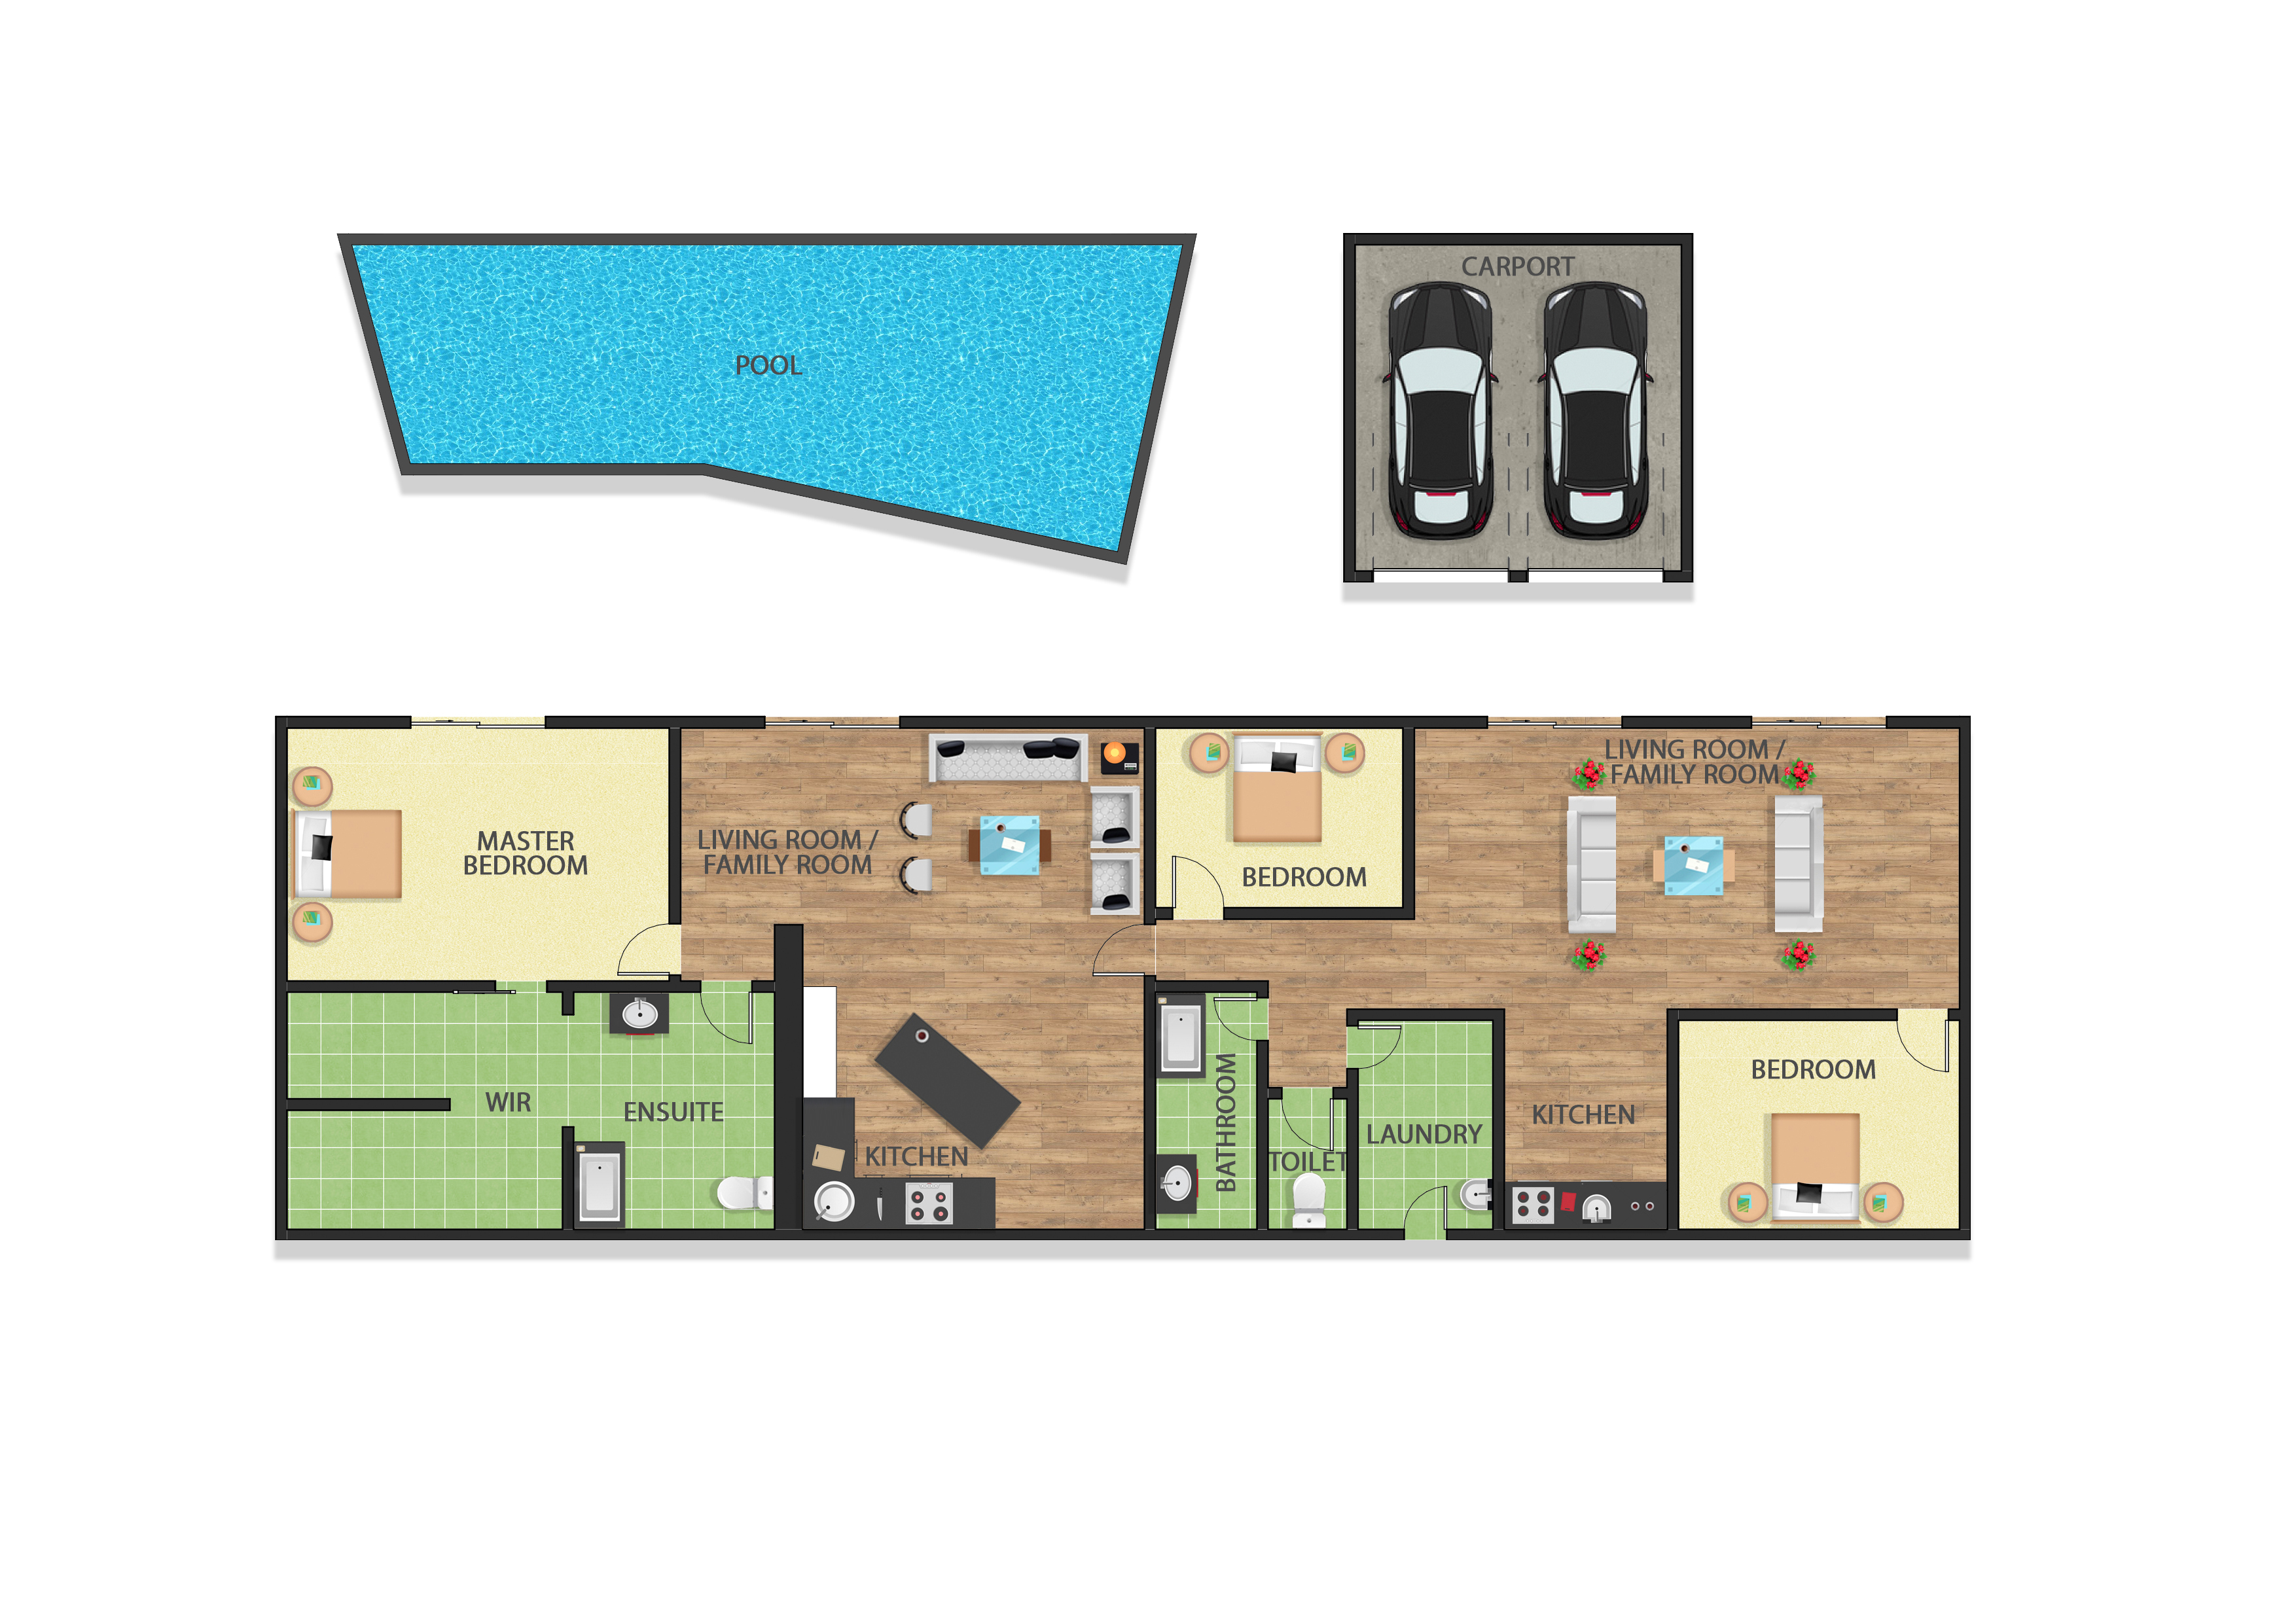
The most important distinction between floor plans and photos is a floor plan’s ability to showcase how a buyer will move through a home. With pictures alone, a buyer may be left with questions: What rooms have access to the backyard? How open is the kitchen? Which bedrooms connect to which bathrooms? A floor plan will answer all of those questions and give buyers a better idea of the size, flow, and space within your home.
Photos alone may help to capture a buyer’s attention, but a floor plan will keep their attention for a longer period of time. The more visuals you can provide to buyers, the more time they will spend looking at the listing. Making the effort to obtain a floor plan also sends a message to buyers that you are professional and thorough, and that the homeowners are serious about selling.
Companies from different countries that offer Image Retouching from Real Estate Photographers also offer Floor Plan Design Services, just like Omorfia. Omorfia is based in the Philippines, and now offers both Image Retouching and Floor Plan Designing, and also Virtual Staging. Outputs they came up with has amazing quality, and also offered in a very affordable price.
Few Tips To Make Your Listing Standout
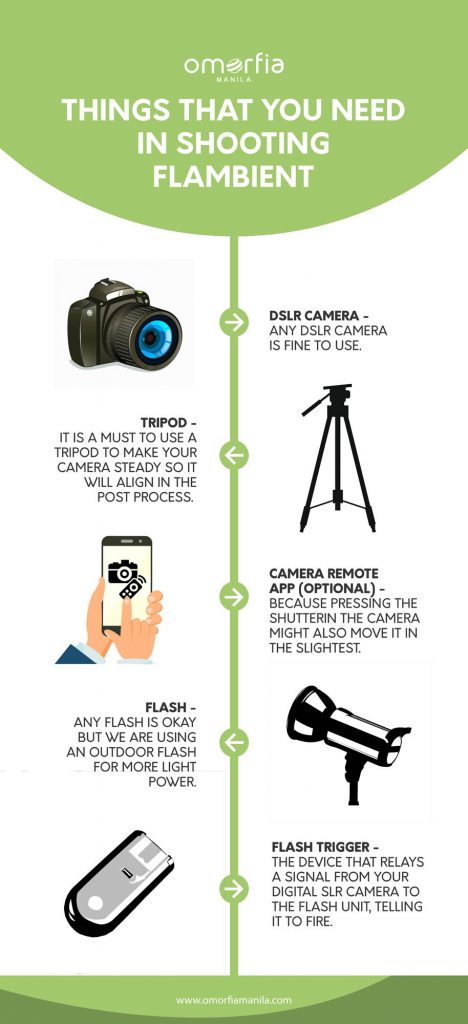
We summarized the article “7 Tips To Make Your Listing Standout” into an infographics. Yep! Because most of us doesn’t have the time to read a 900-word article.

Is Outsourcing Helpful For Business?
Outsourcing have been patronized by many Real Estate Photography Businesses nowadays in different countries across the globe, like USA and Australia, simply because of the convenience they’re receiving from such outsourcing agencies.
3 Major Advantages of Real Estate Photography Outsourcing are as follows:
Money-Saver
Outsourcing does not require much of what a usual hired employee needs such as minimum wages, holiday pays, paid leaves, and more, which gives some photographers a cheaper expense when it comes to providing services for their clients.
Time-Saver
Given the fact that Real Estate Photographers are too busy doing their jobs capturing properties, they too are busy providing a much better output of their photographs to be given to their clients by retouching those they previously captured. Having those captured photographs outsourced to agencies doing such, makes their time for themselves more flexible. Also, they can cater a lot more agents, and they can have more properties to shoot.
Business Growth
As mentioned to the previous advantage, Real Estate Photographers can cater a lot more agents making their business grow even more.Outsourcing can give them more time to focus on the business they are pursuing. Less time to edit and retouch, more time to focus on the business itself.
Philippines is one of the many countries which definitely has outsourcing businesses. Omorfia is a must try for those who are looking for one. Omorfia offers Photo Retouching, Floor Plan Designing in 2D and in 3D, and Virtual Staging. To see more of their samples and their information, you can find them at this website: www.omorfiamanila.com, or you can directly message them through email: sales@omorfiamedia.com
READ MORE