
READ MORE
7 Steps to Becoming a Wedding Photography Pro


Importance Of Social Media For Real Estate Professionals


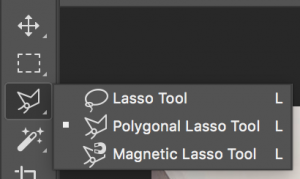
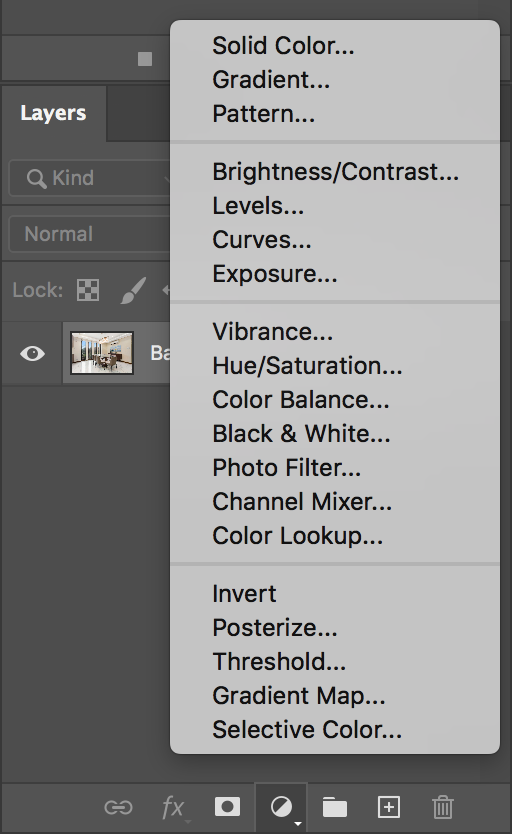
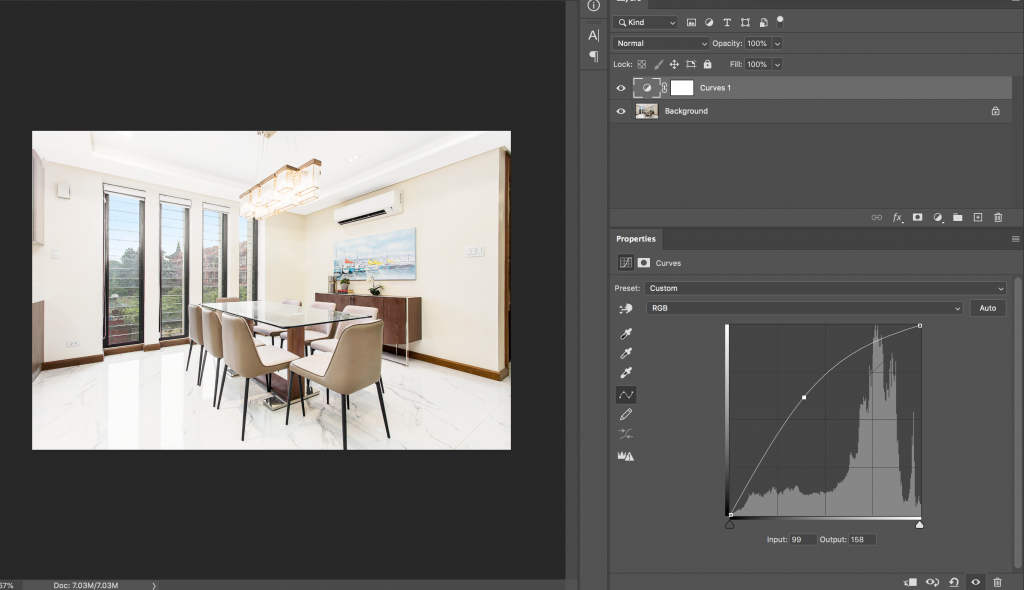
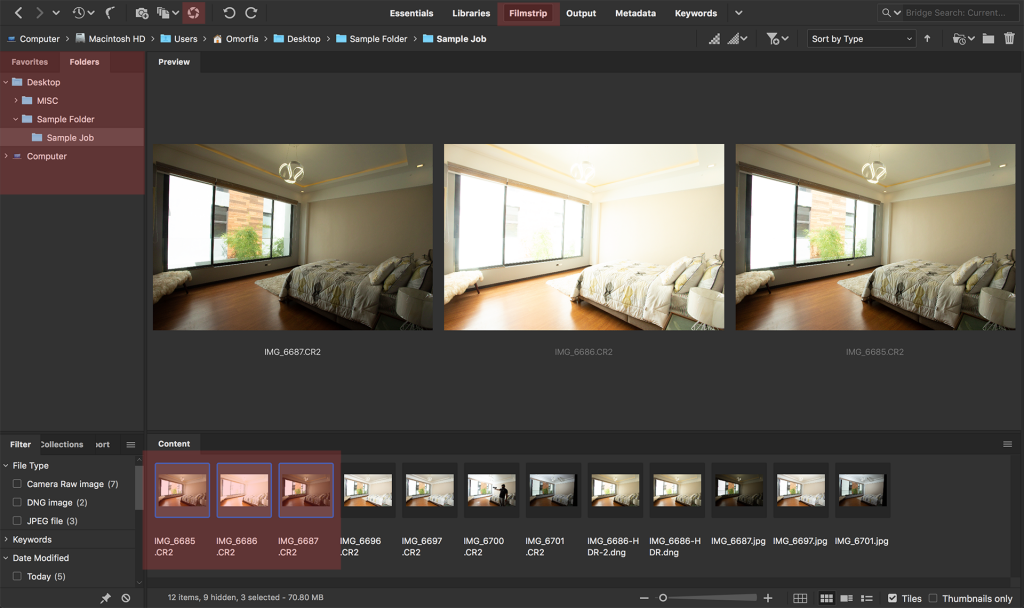
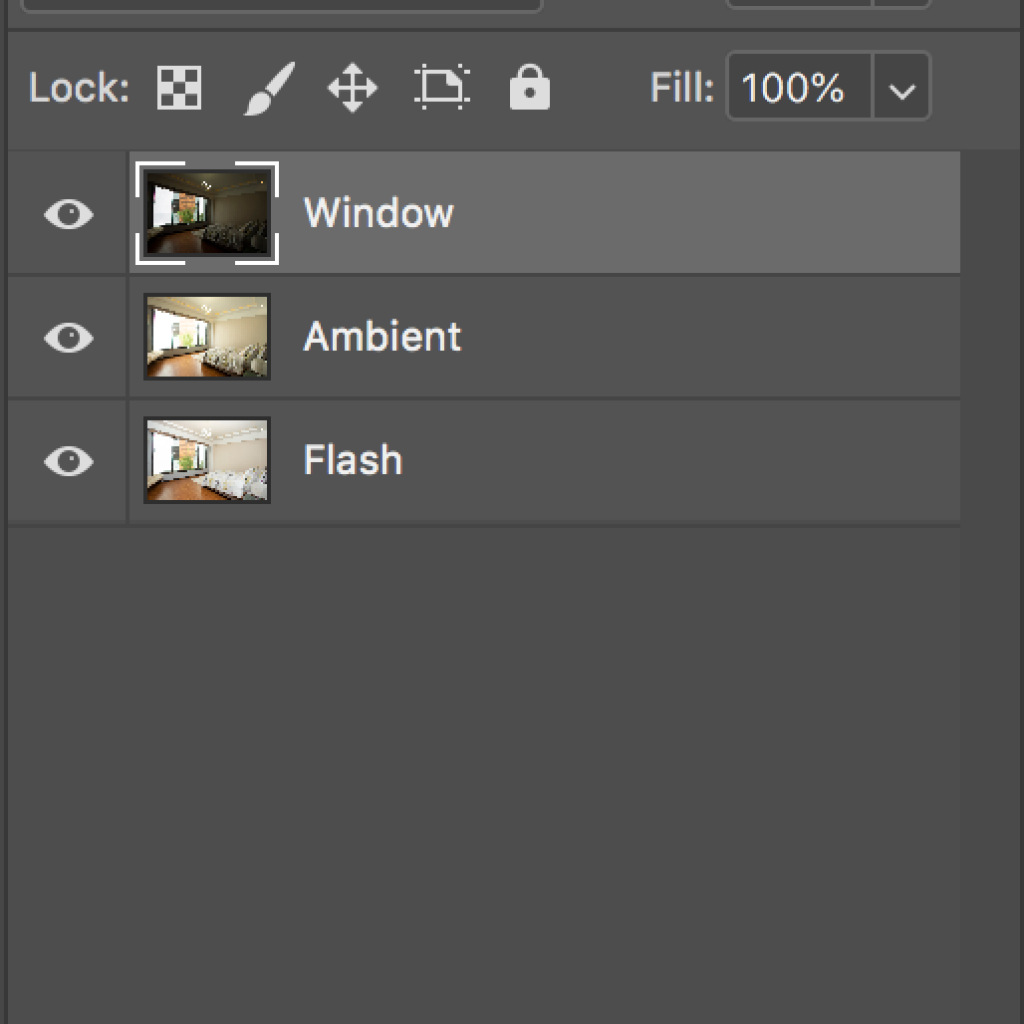
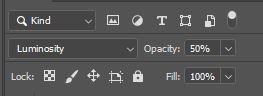
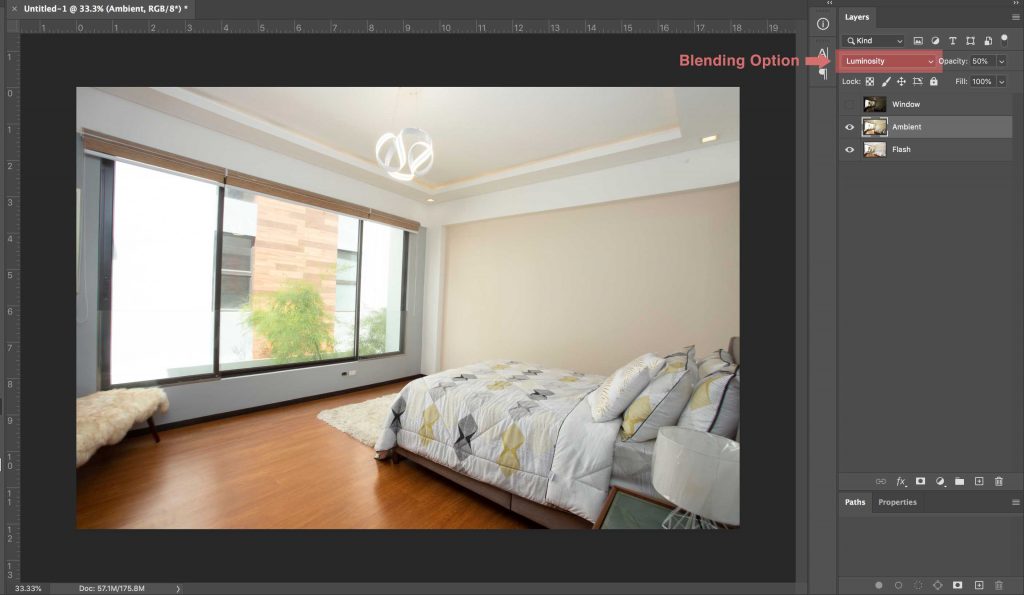
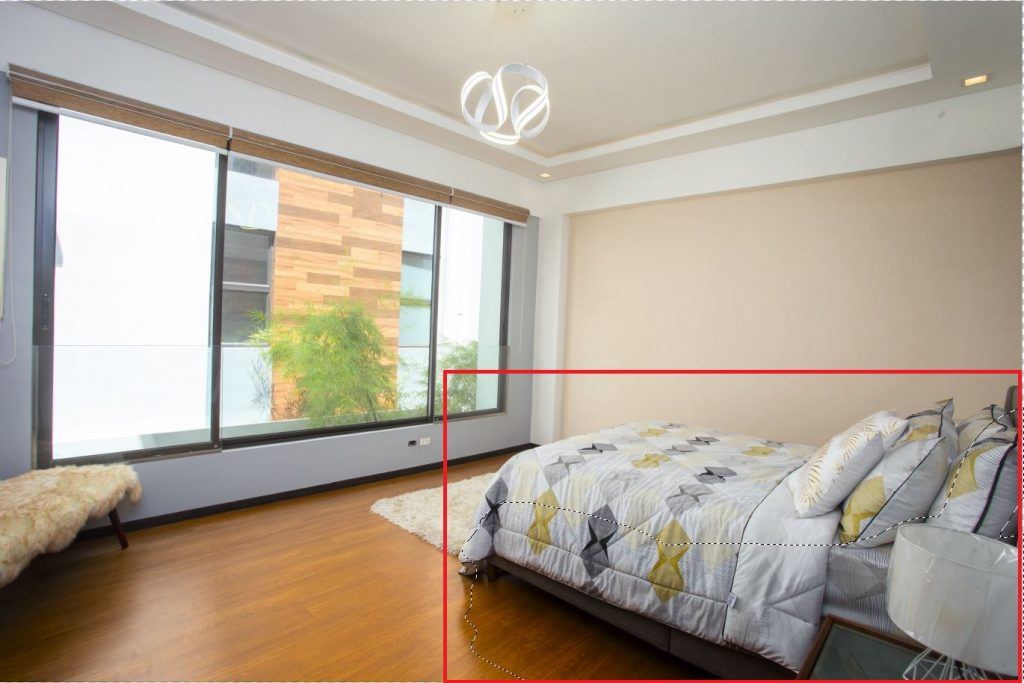
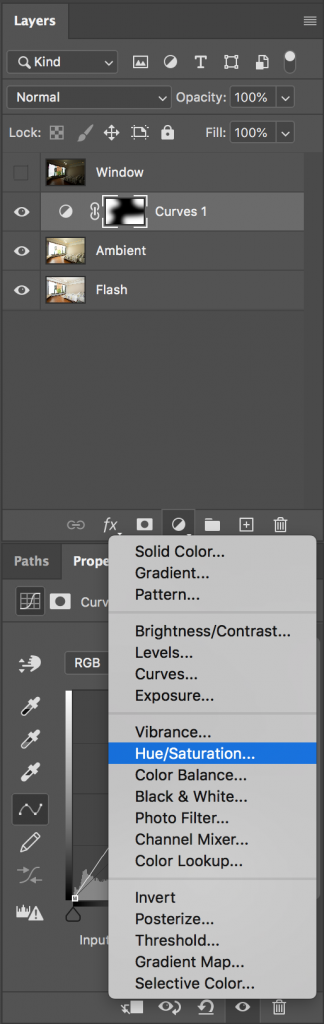
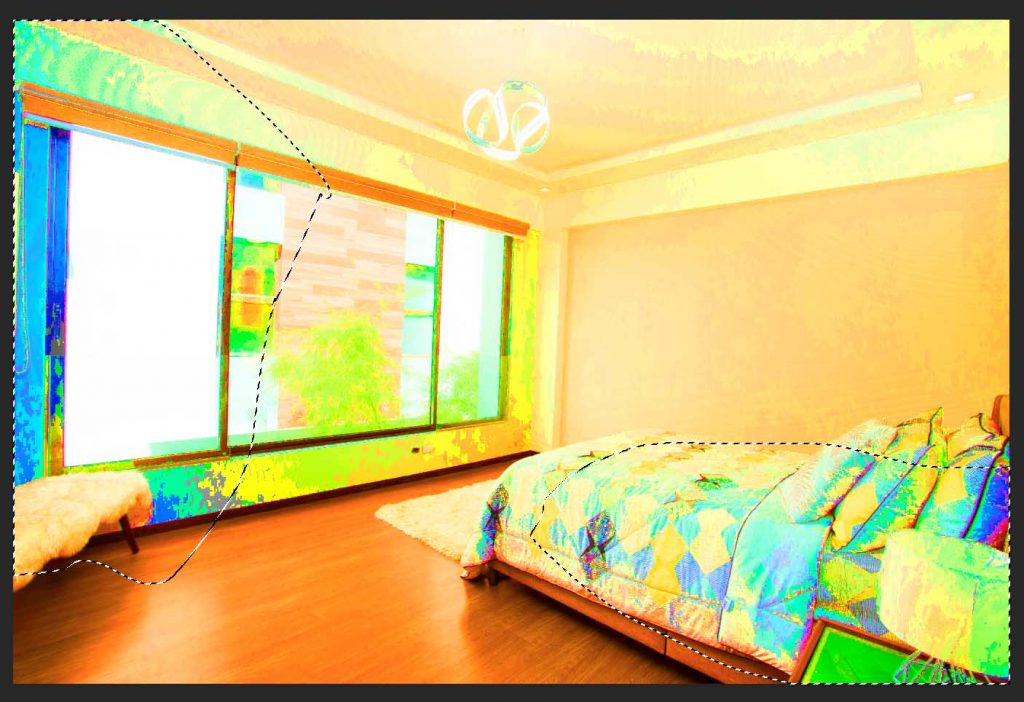
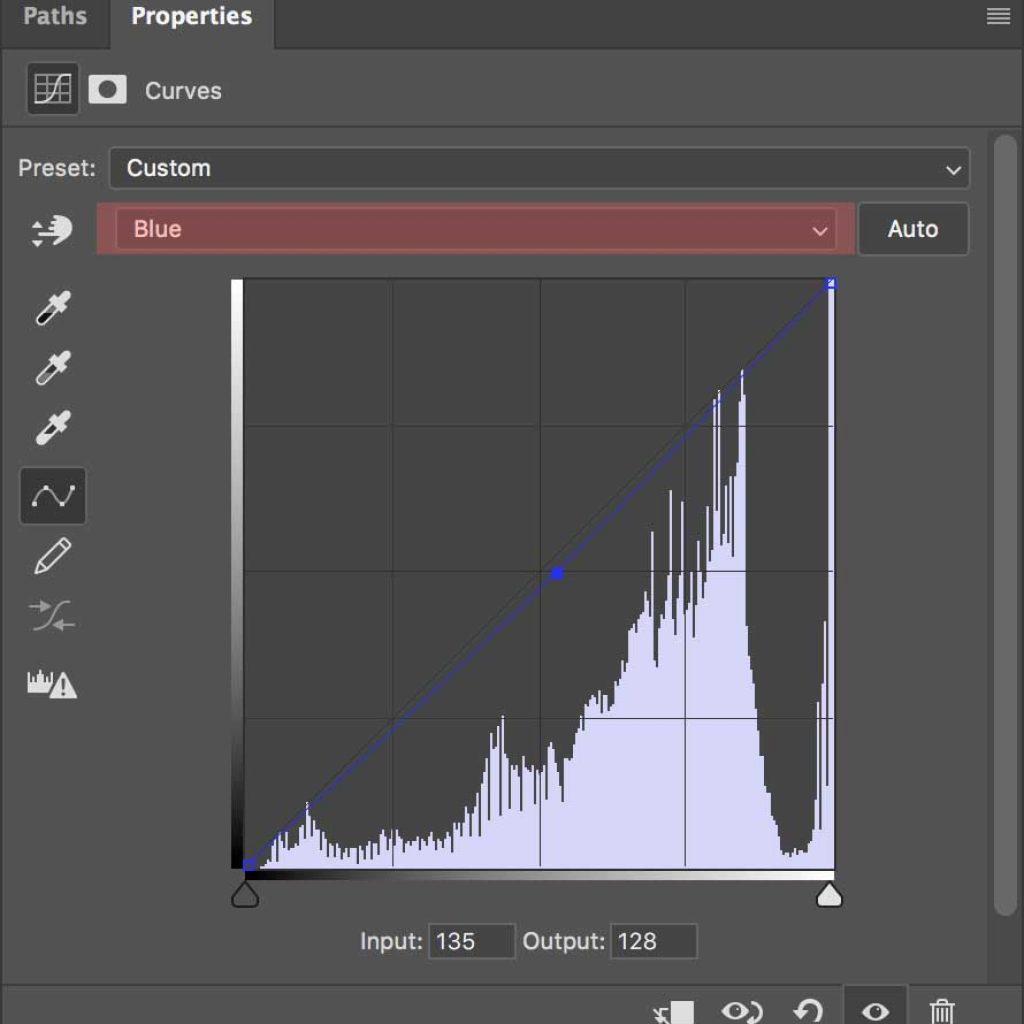
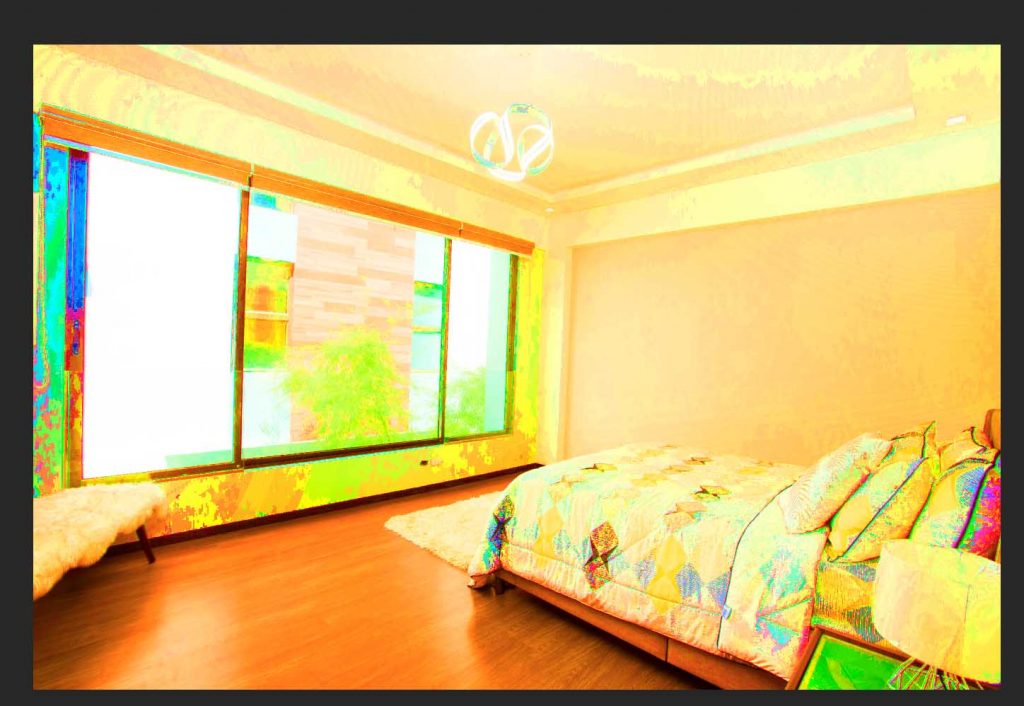
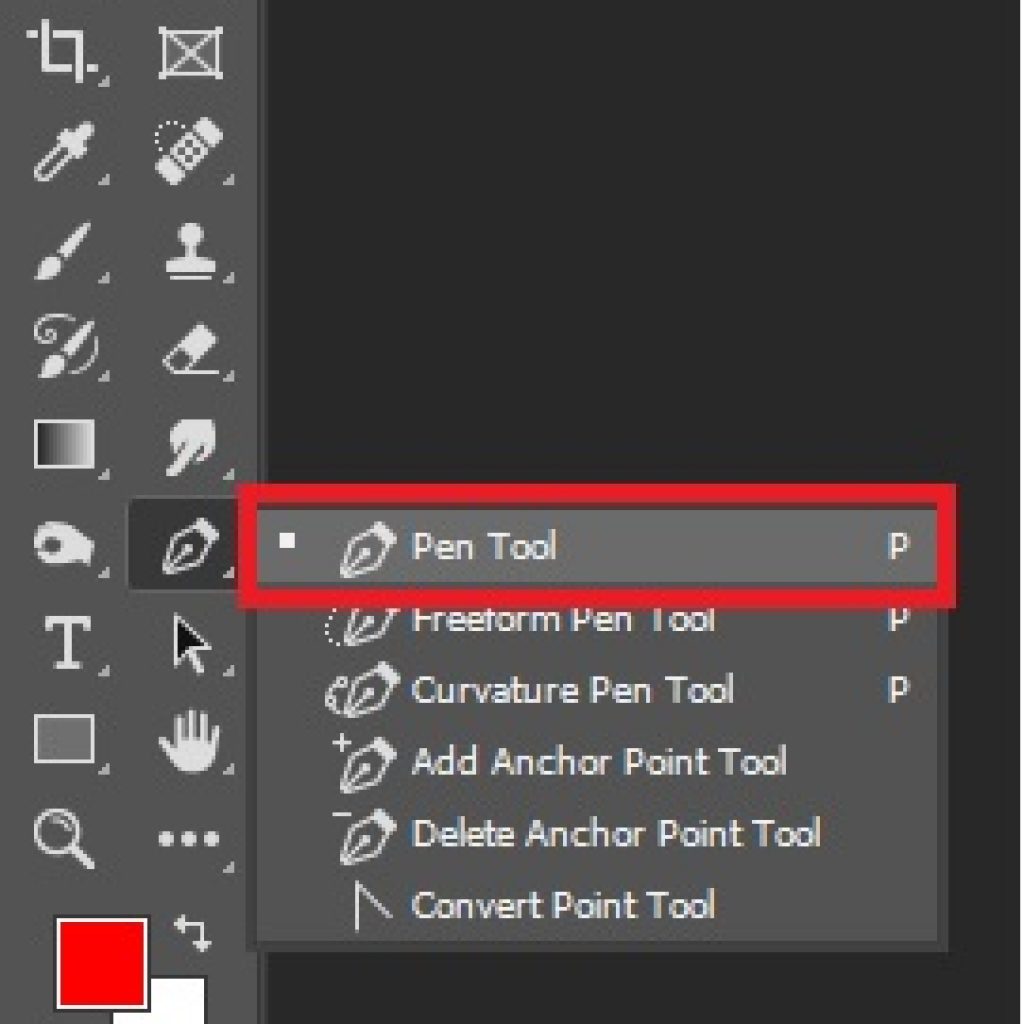
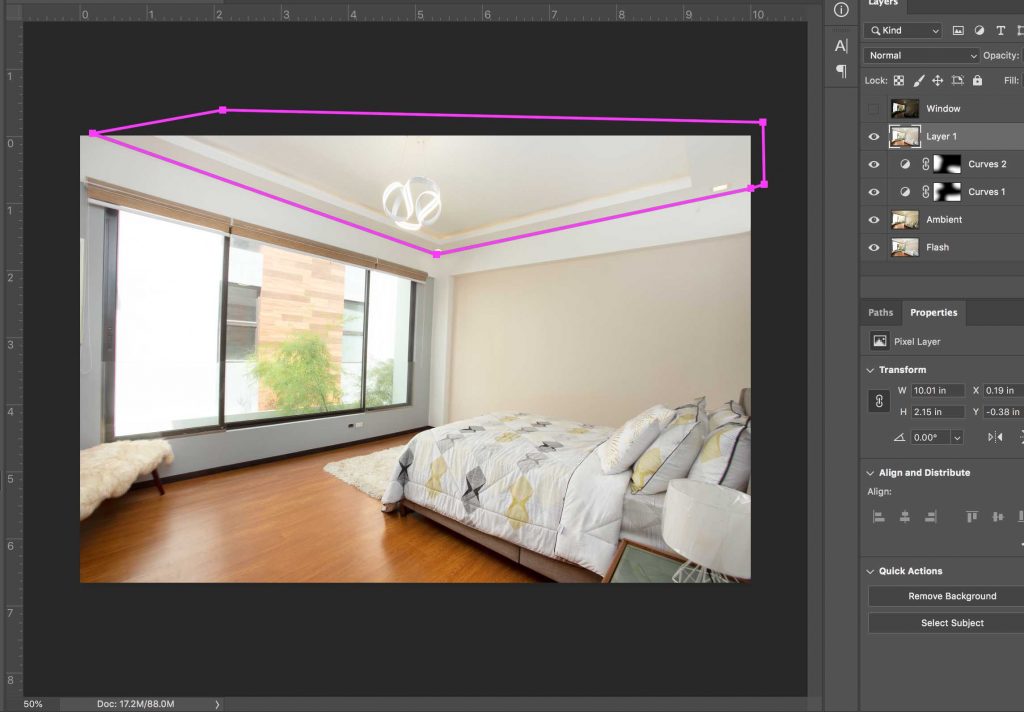
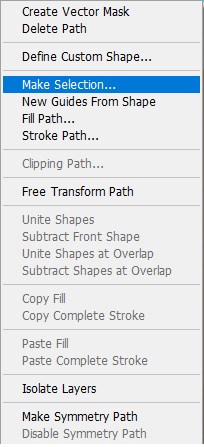
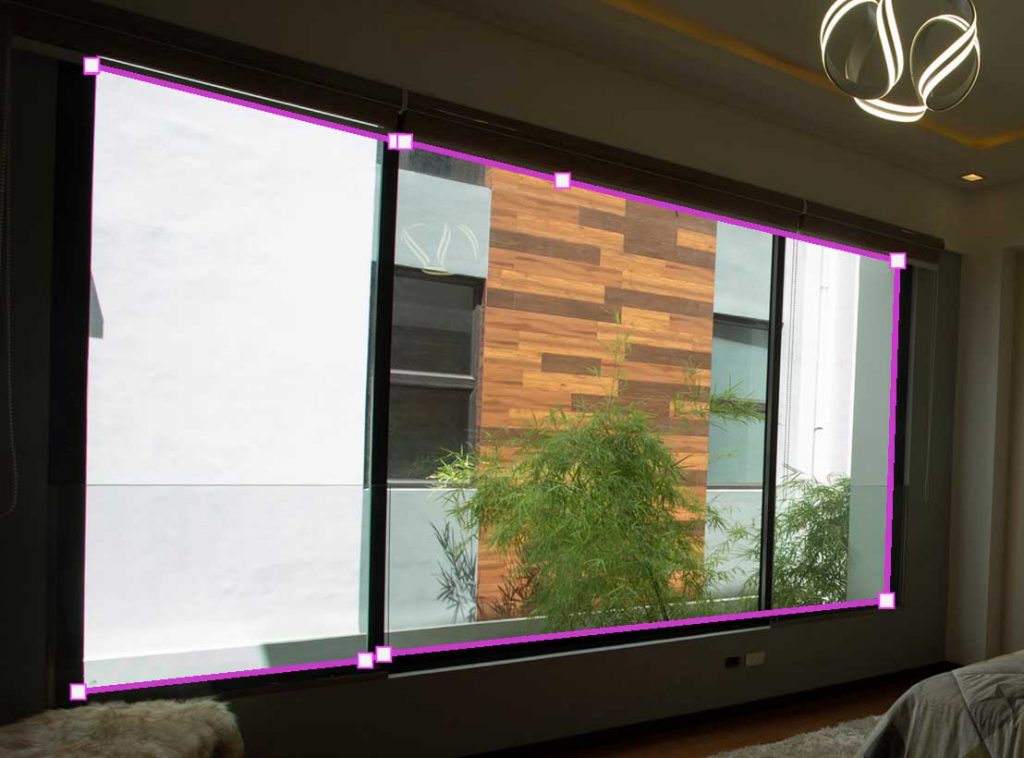
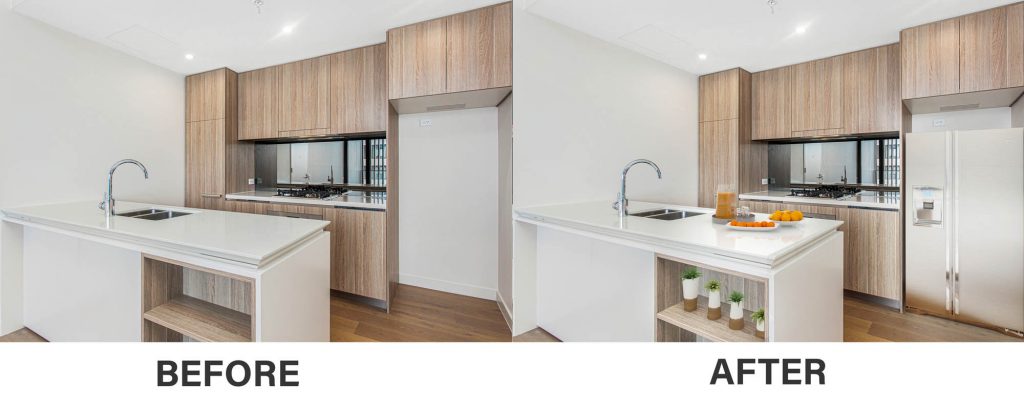
How To Edit Real Estate Photos (Step By Step Guide)


7 Steps to Becoming a Wedding Photography Pro
Wedding photography is a unique and fulfilling career that allows you to use your passion for capturing memories to tell the story of one of

Importance Of Social Media For Real Estate Professionals
IMPORTANCE OF SOCIAL MEDIA FOR REAL ESTATE PROFESSIONALS More than four and a half billion people use some form of social media – that is

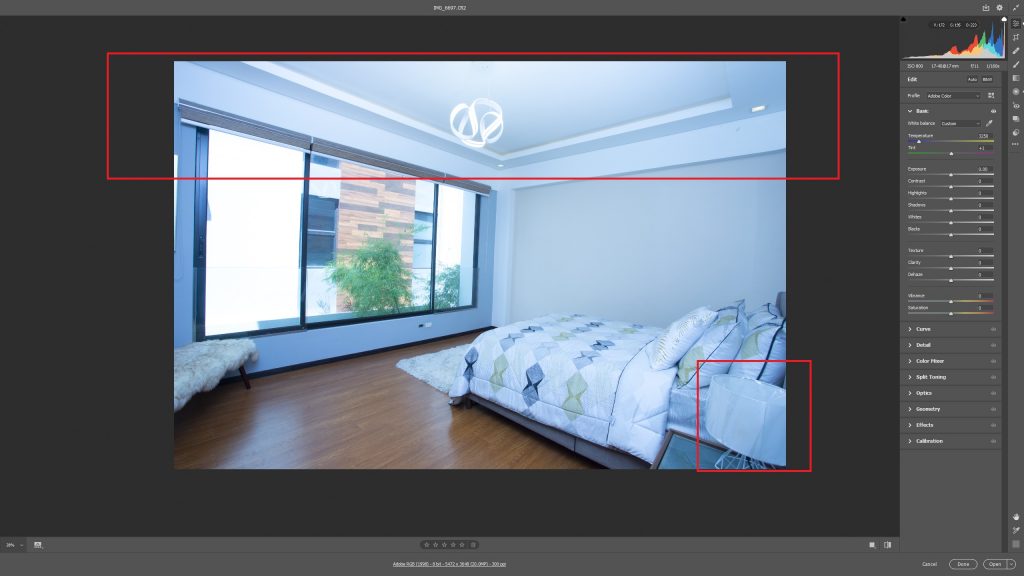
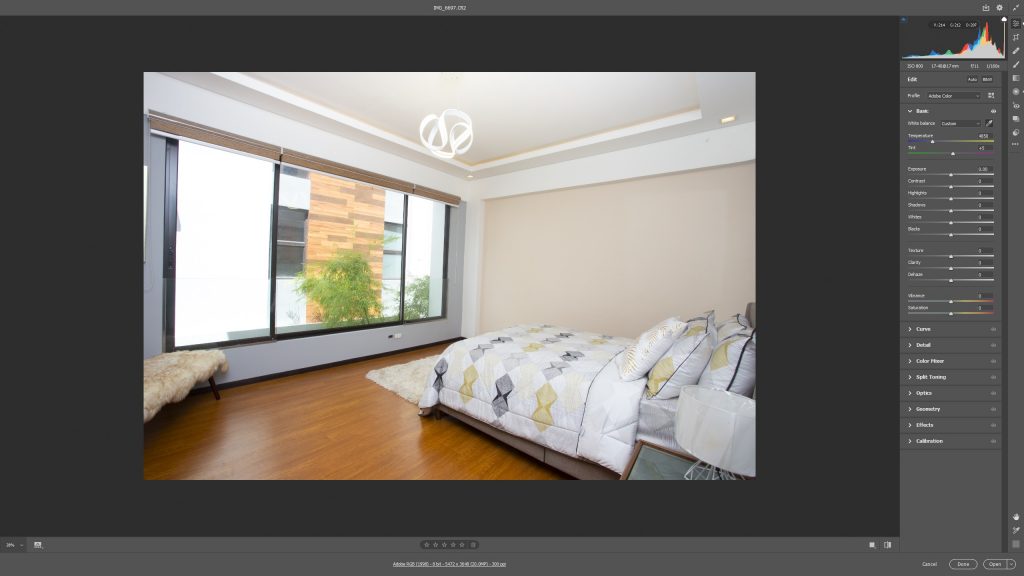
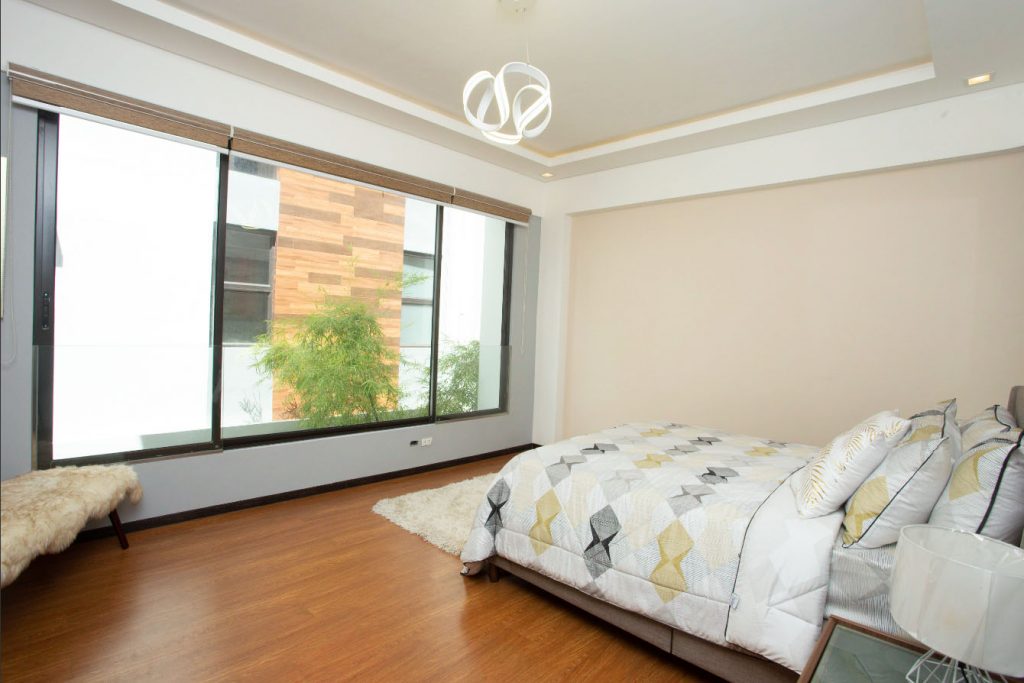
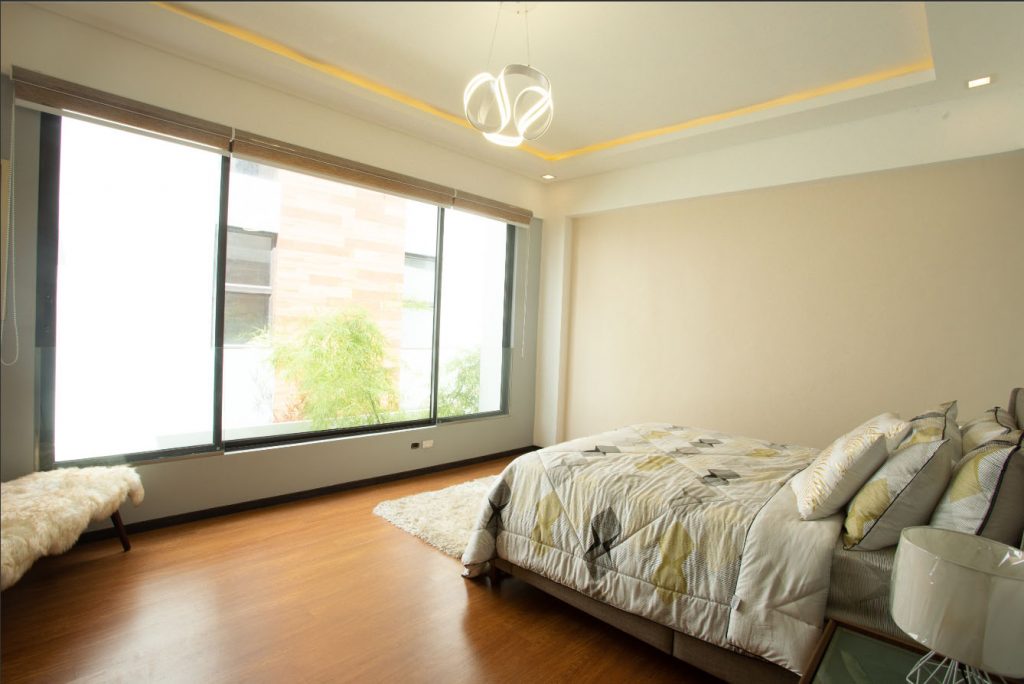
How To Edit Real Estate Photos (Step By Step Guide)
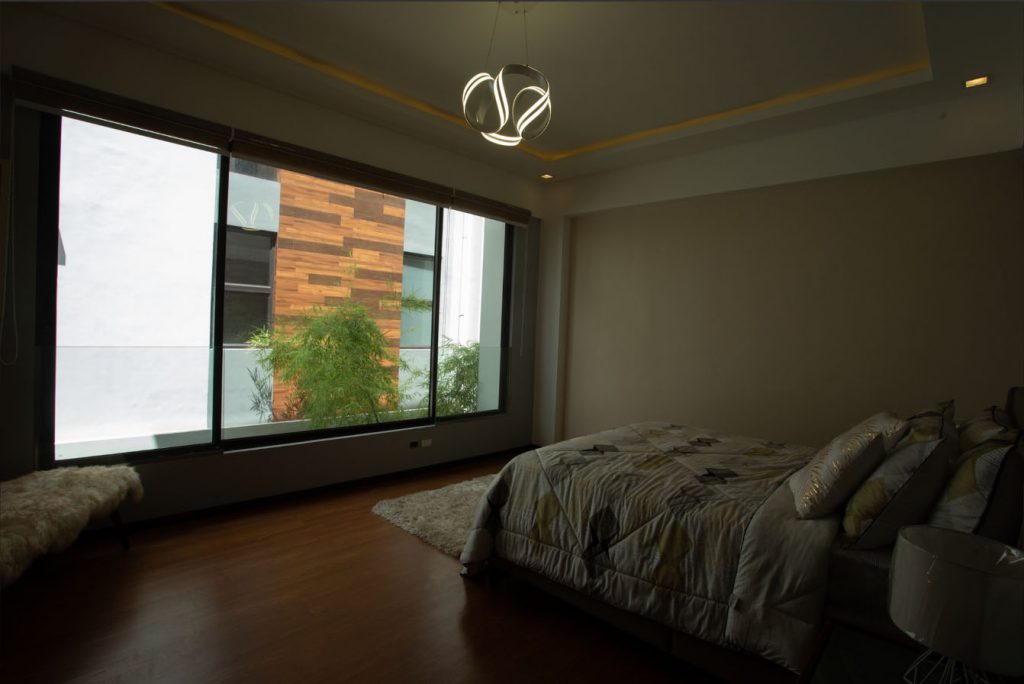
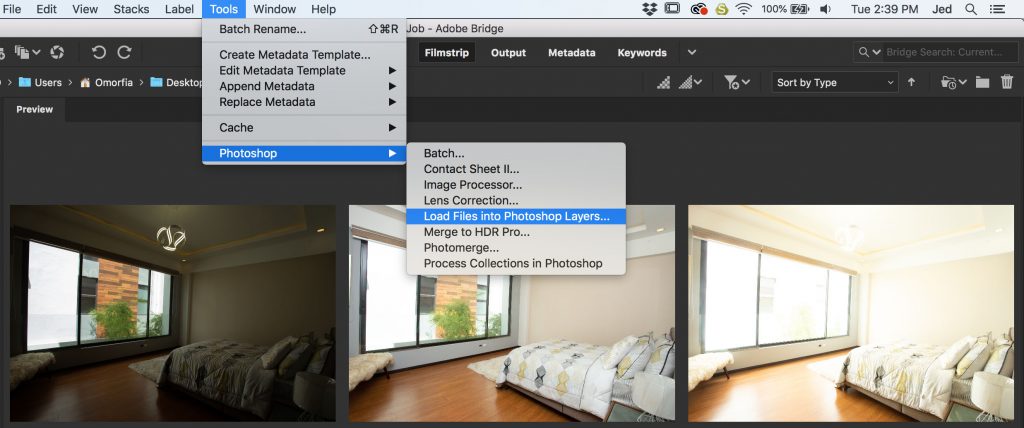
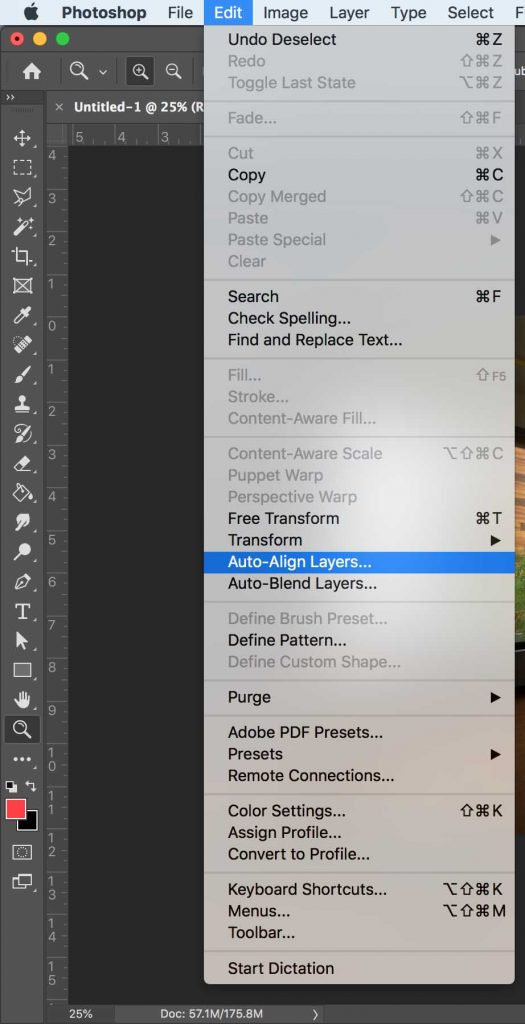
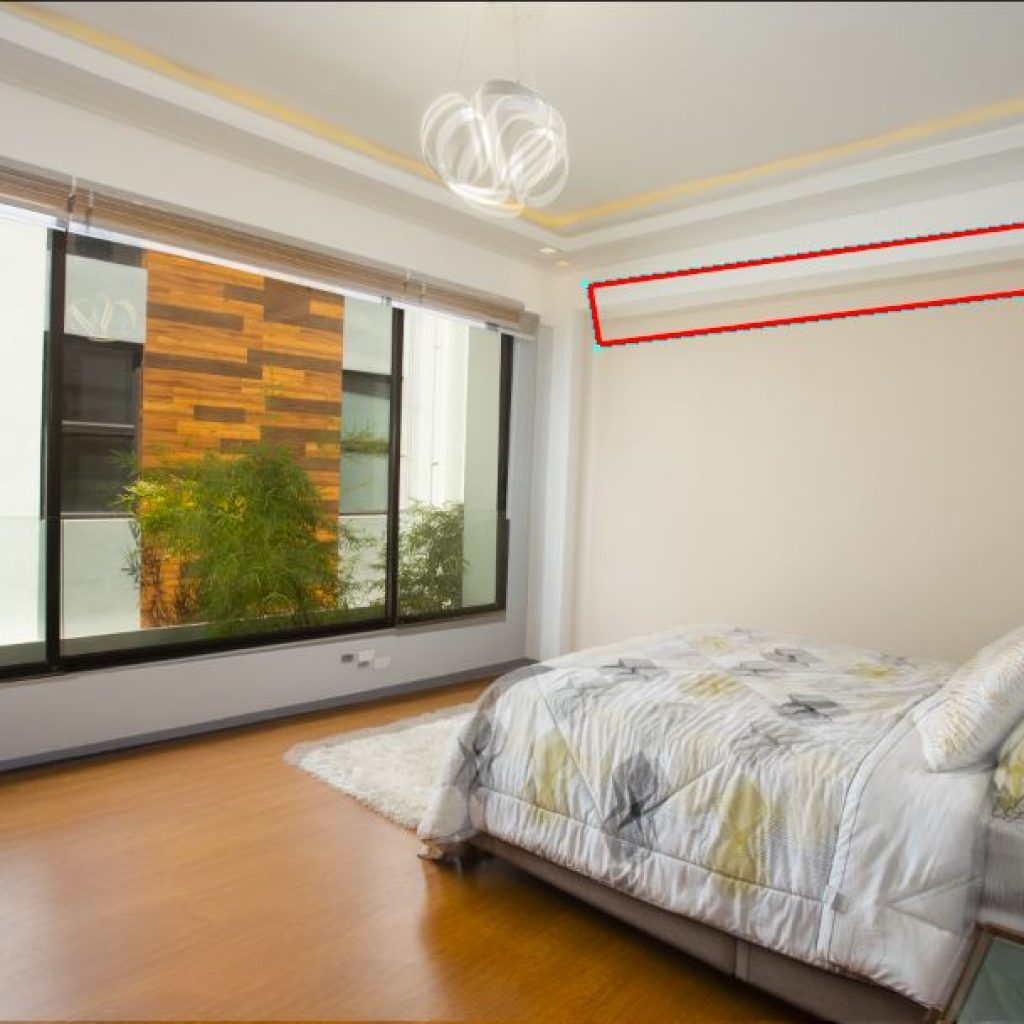
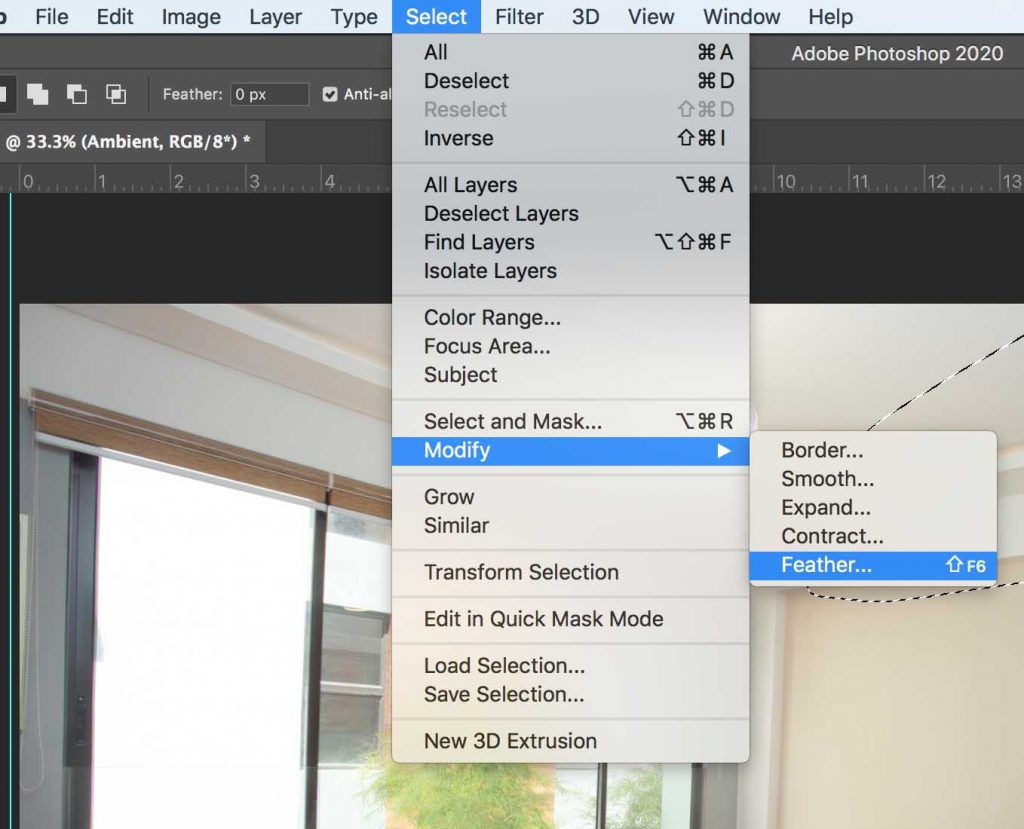
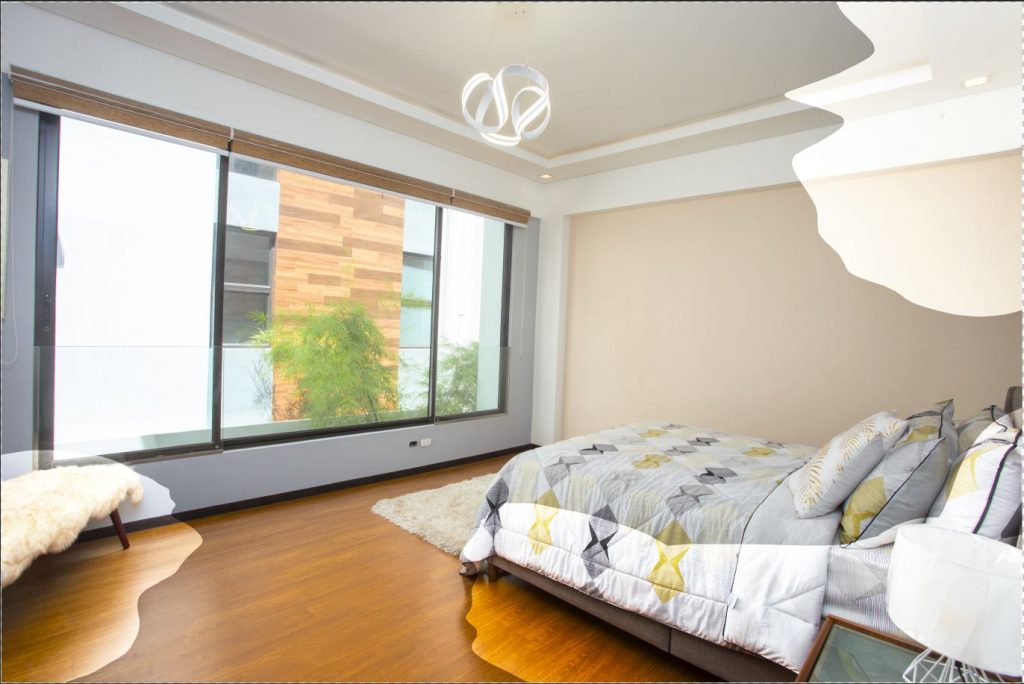
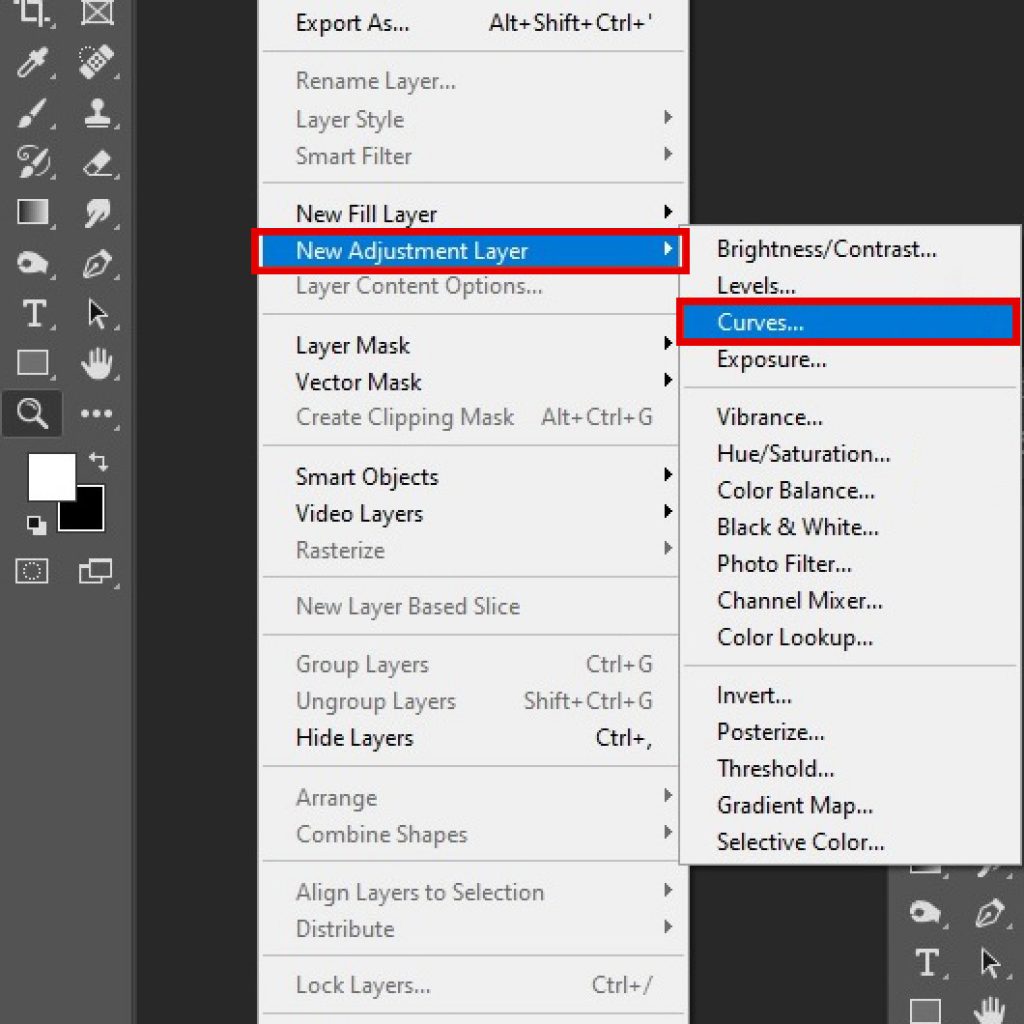
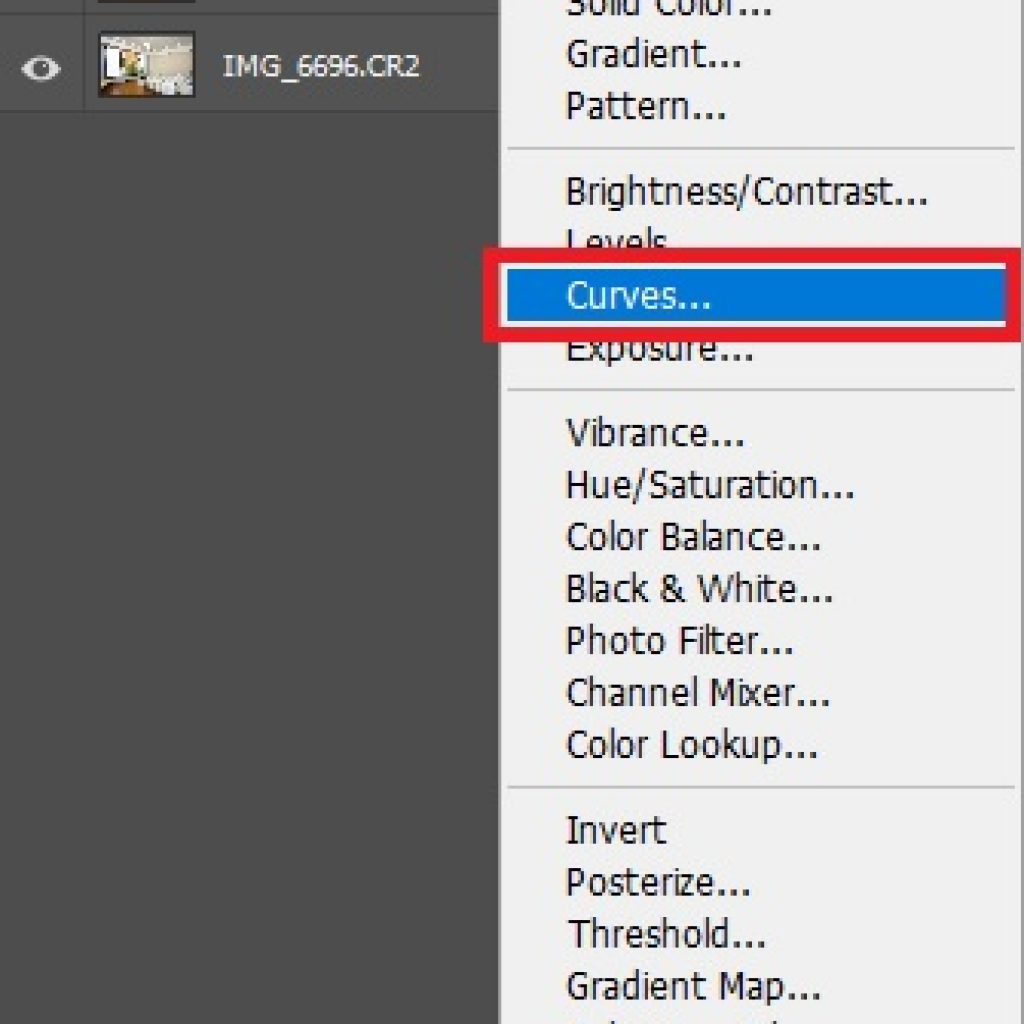
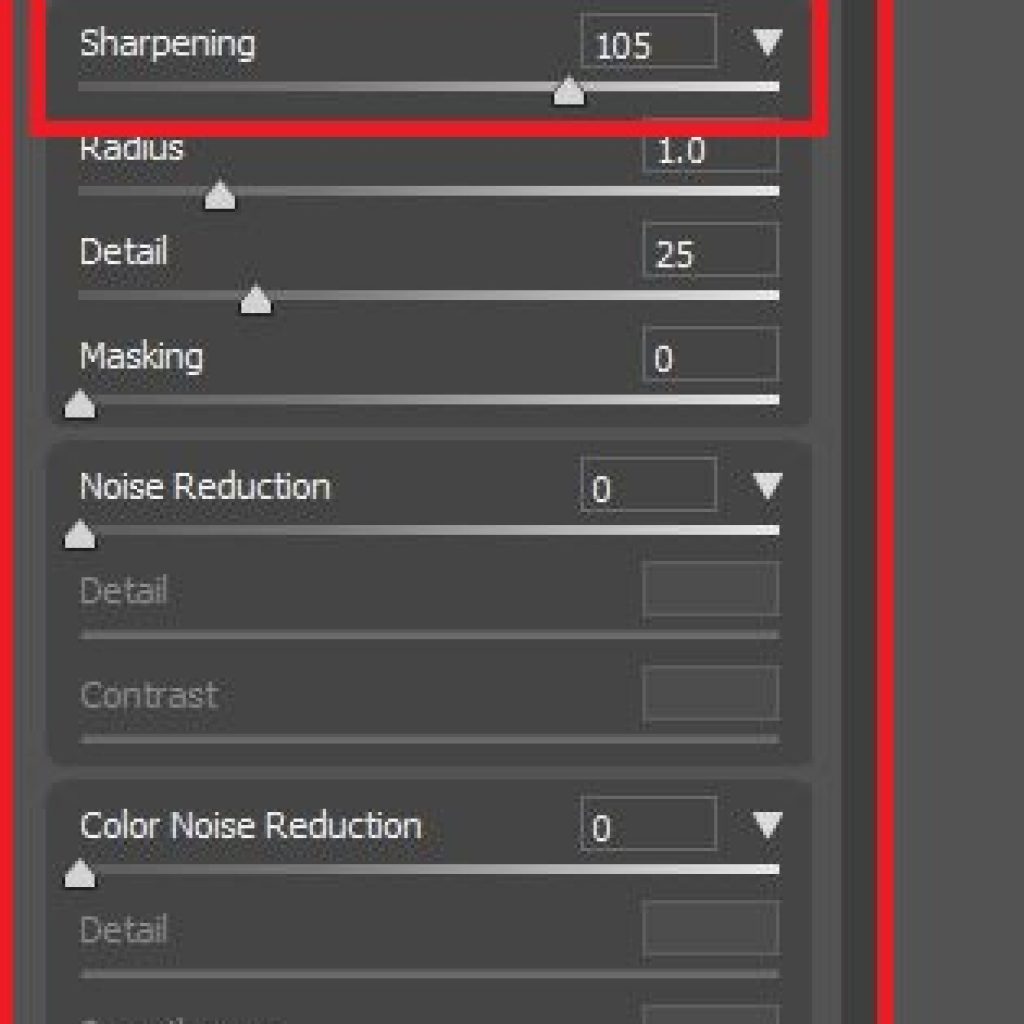
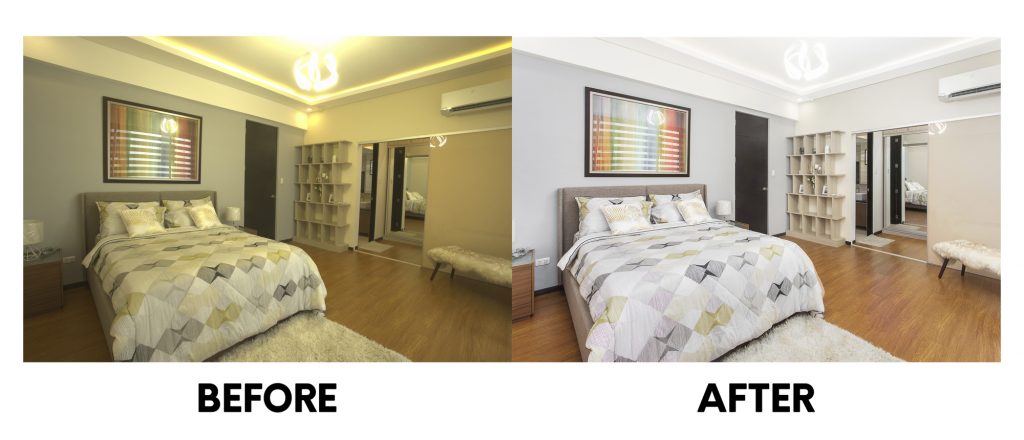
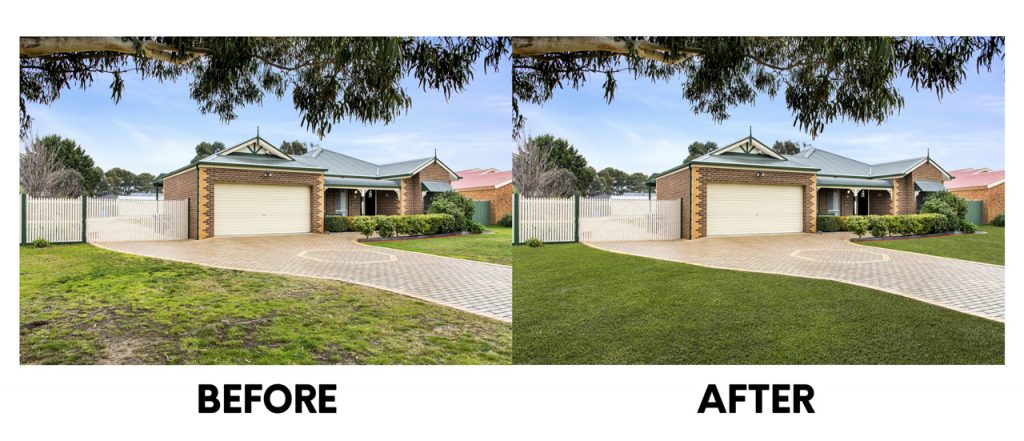
How To Edit Real Estate Photos (Step By Step Guide) How To Edit Real Estate Photos (Step by Step Guide) As a photographer, I always

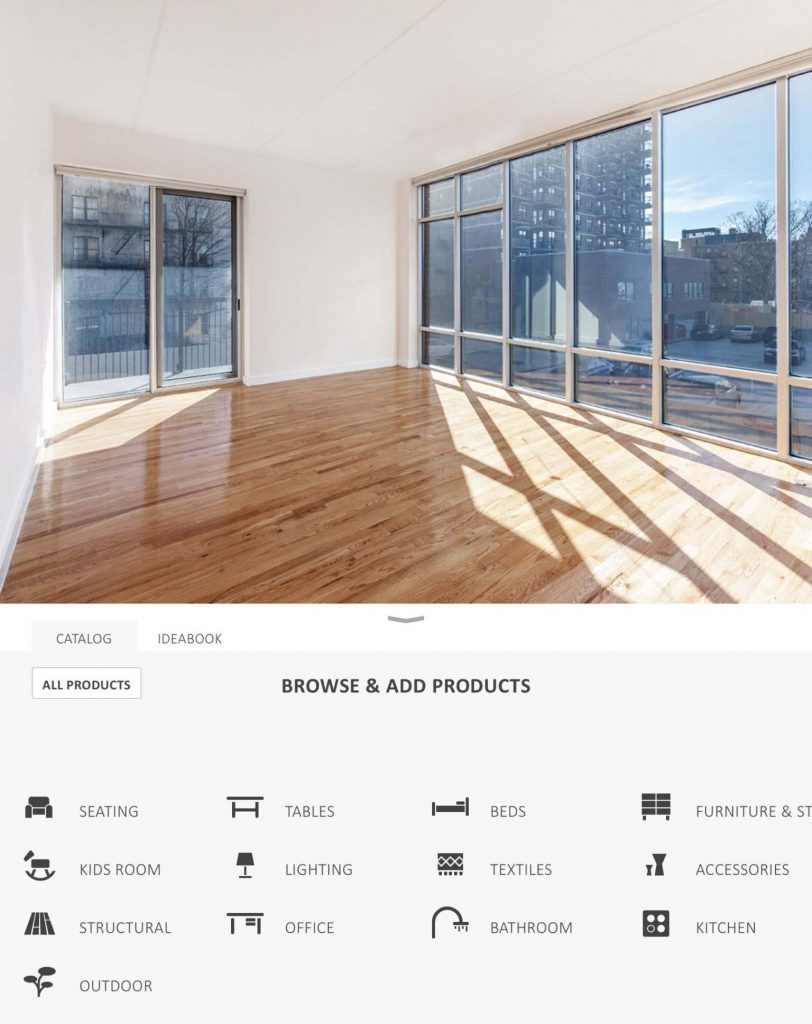
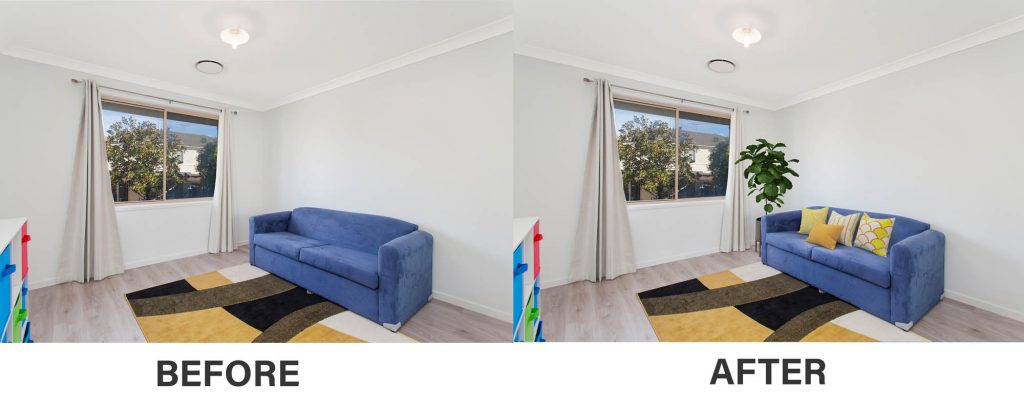
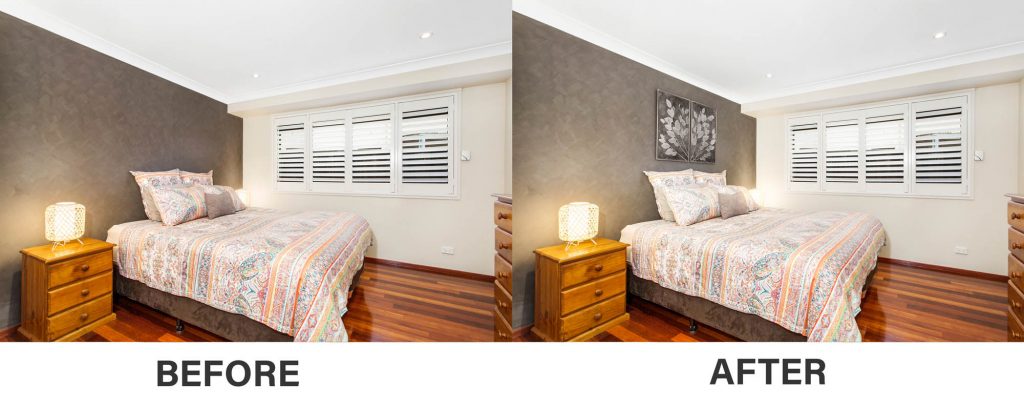
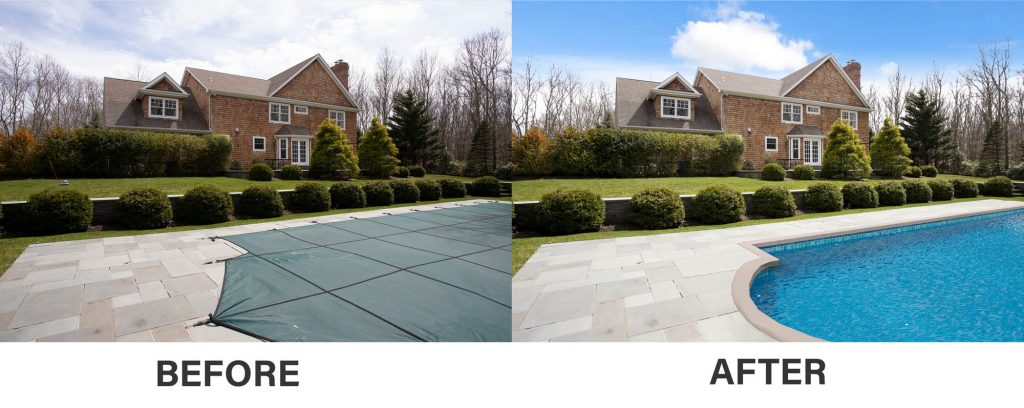
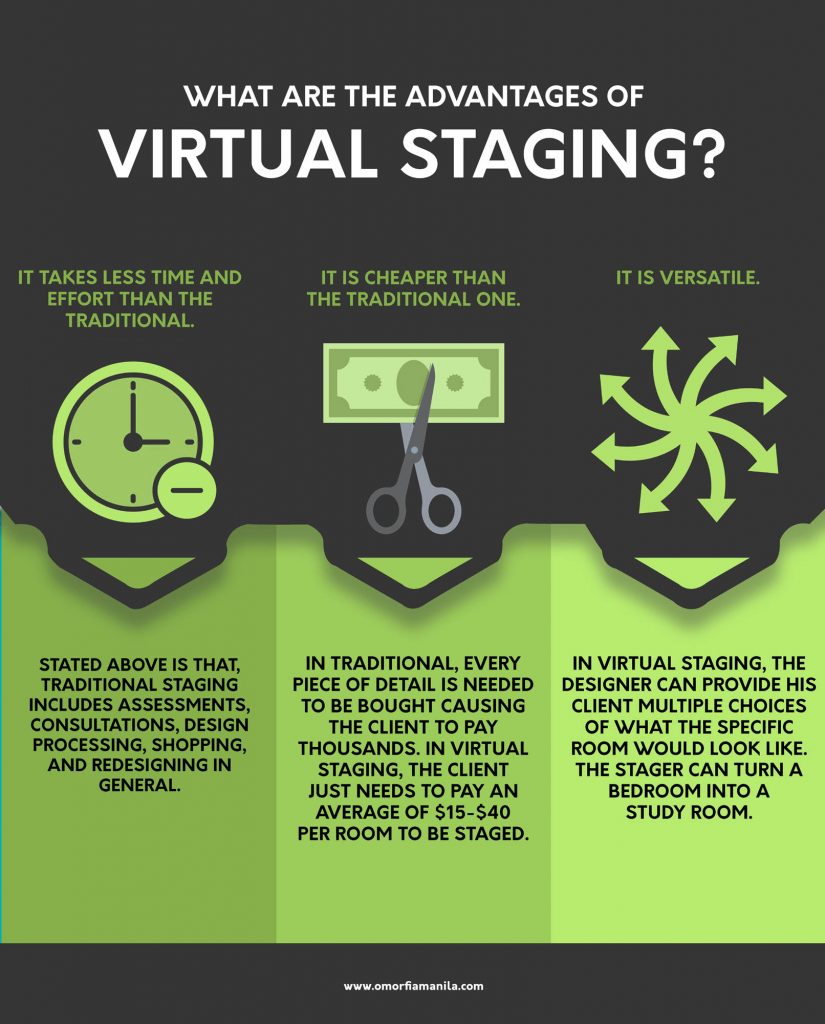
Virtual Staging Software: All You Need To Know
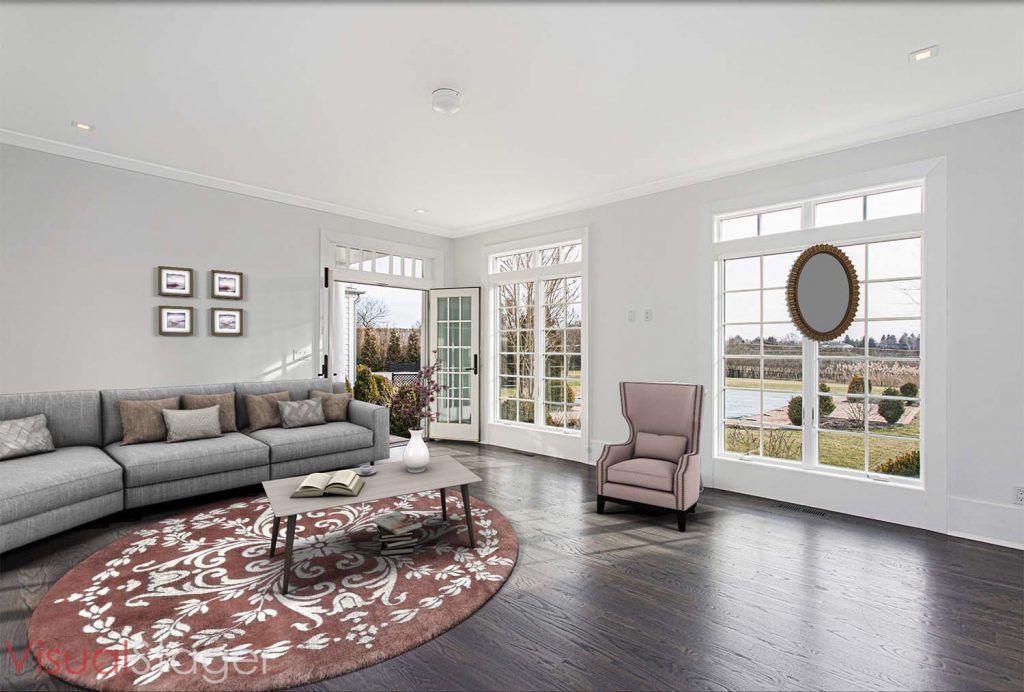
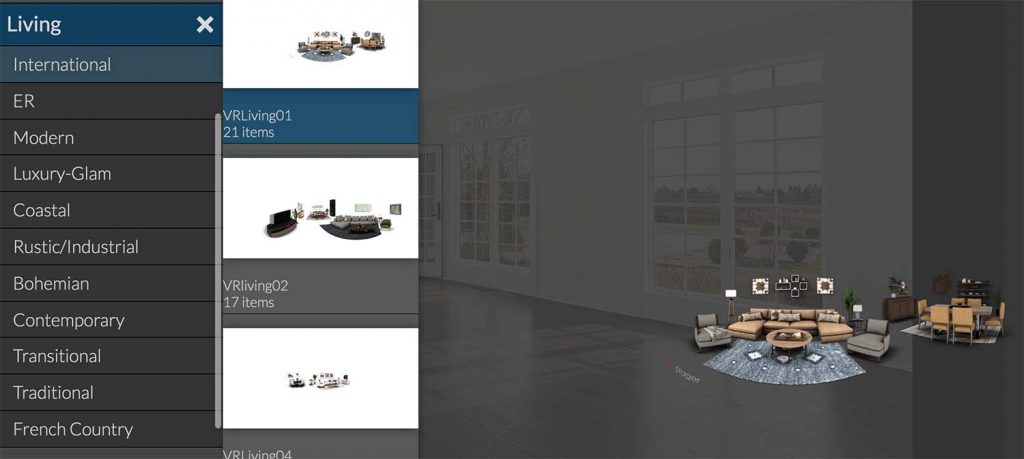
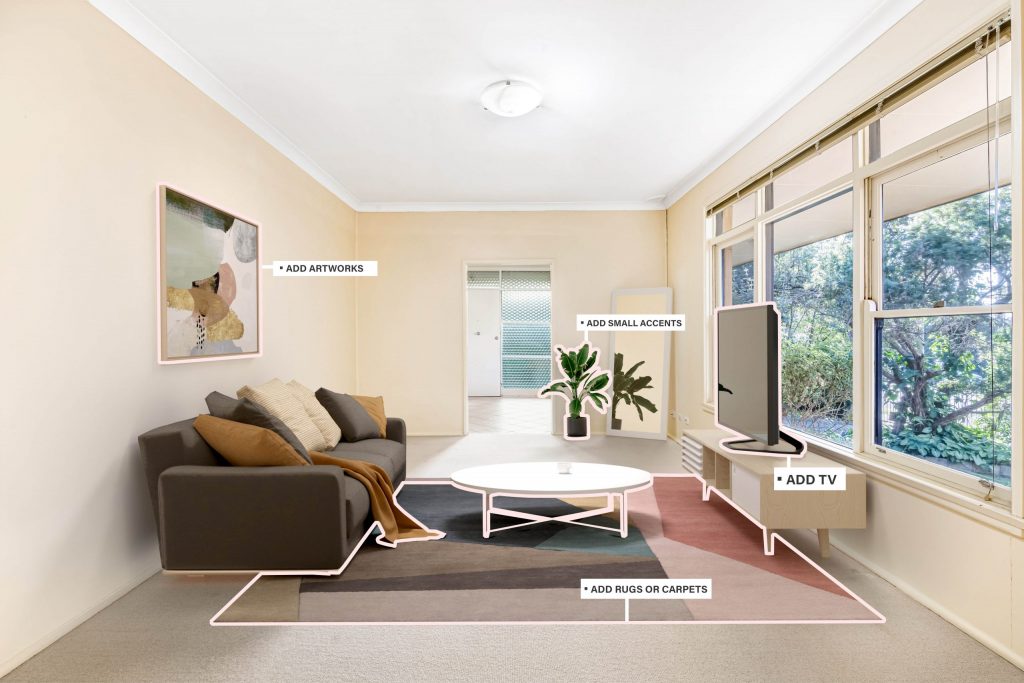
Virtual Staging Software For Real Estate Virtual staging, in the real estate realm, has become the up and coming trend that has taken the entire

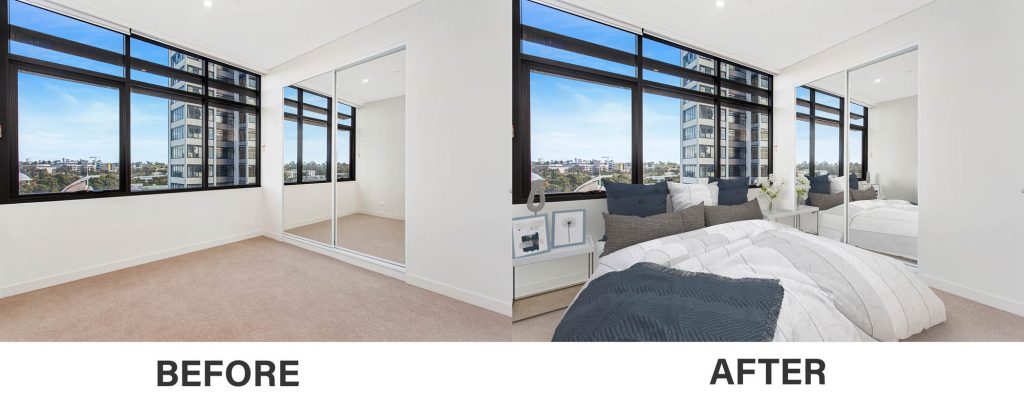
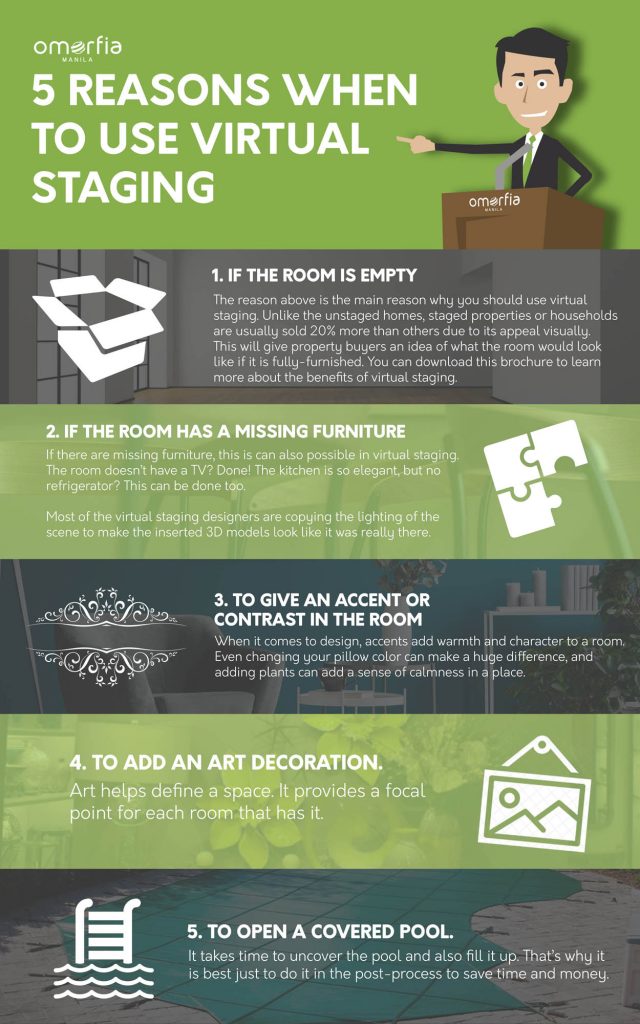
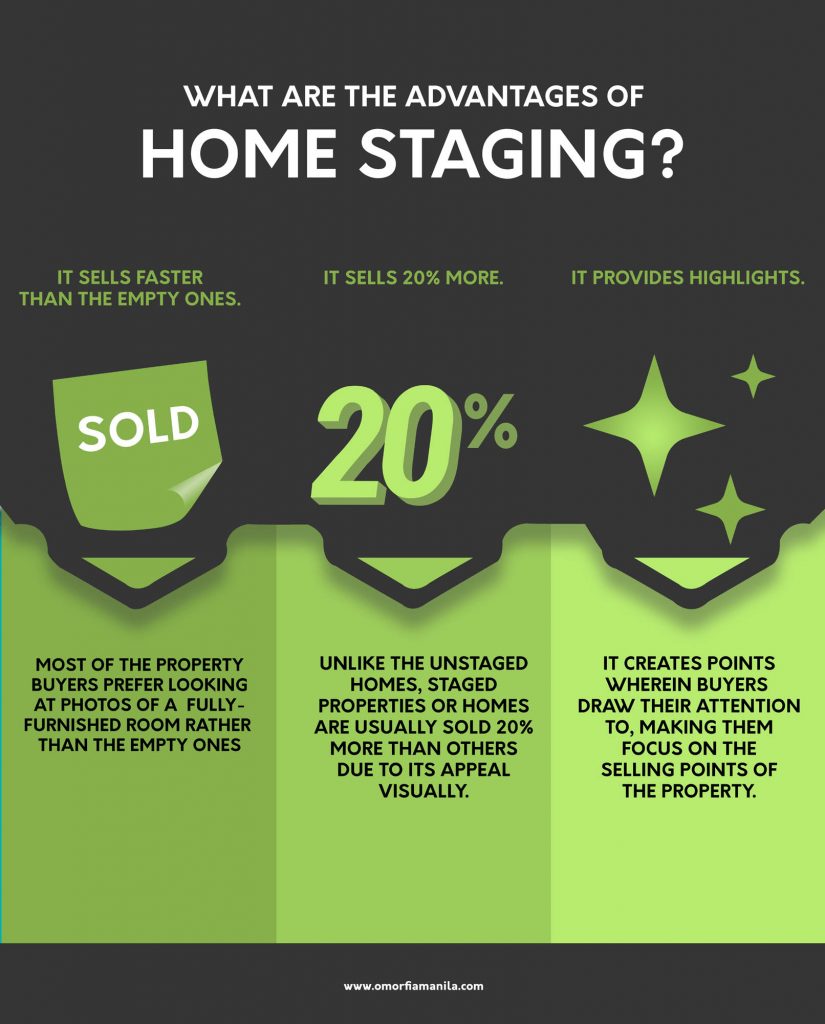
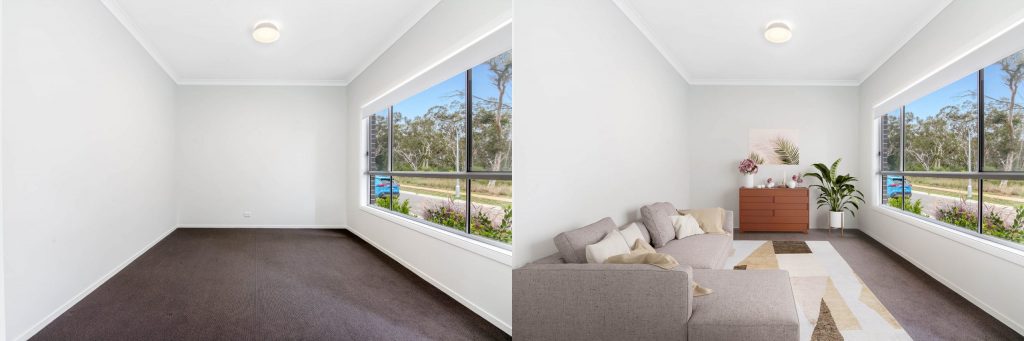
5 Reasons When To Use Virtual Staging
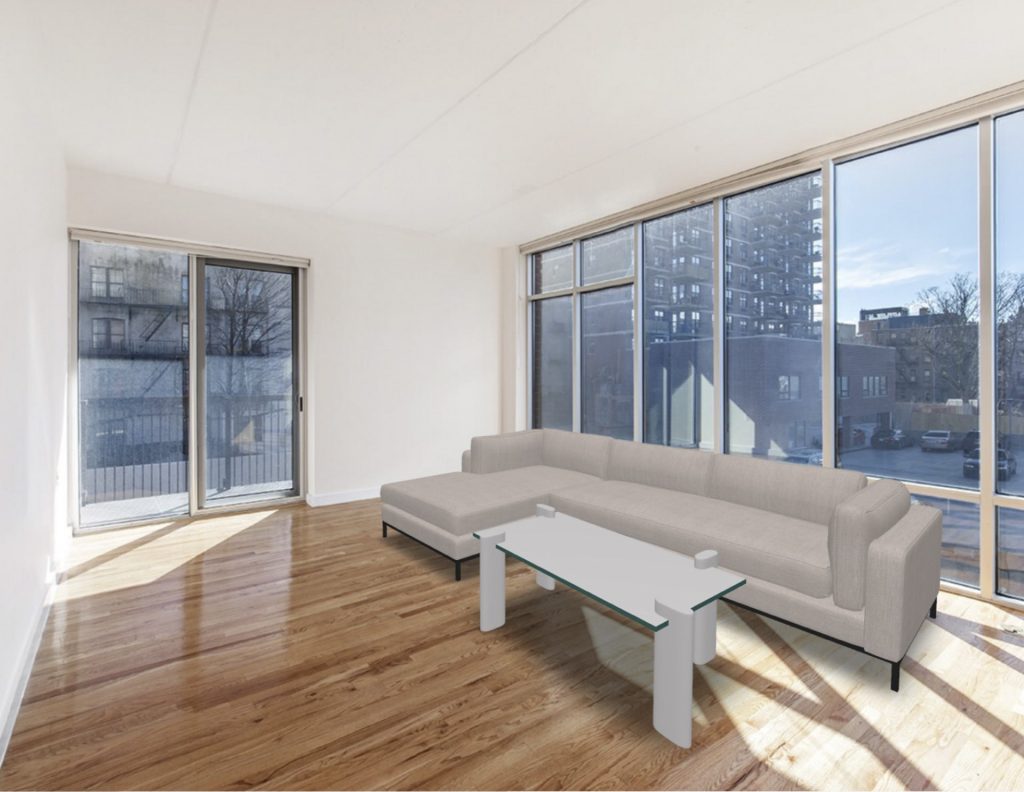
5 Reasons When To Use Virtual Staging If you are a real estate photographer and you’re looking for a new service that can
Virtual Staging Software: All You Need To Know

7 Steps to Becoming a Wedding Photography Pro
Wedding photography is a unique and fulfilling career that allows you to use your passion for capturing memories to tell the story of one of
Importance Of Social Media For Real Estate Professionals
IMPORTANCE OF SOCIAL MEDIA FOR REAL ESTATE PROFESSIONALS More than four and a half billion people use some form of social media – that is
How To Edit Real Estate Photos (Step By Step Guide)
How To Edit Real Estate Photos (Step By Step Guide) How To Edit Real Estate Photos (Step by Step Guide) As a photographer, I always
Virtual Staging Software: All You Need To Know
Virtual Staging Software For Real Estate Virtual staging, in the real estate realm, has become the up and coming trend that has taken the entire
5 Reasons When To Use Virtual Staging
5 Reasons When To Use Virtual Staging If you are a real estate photographer and you’re looking for a new service that can
5 Reasons When To Use Virtual Staging
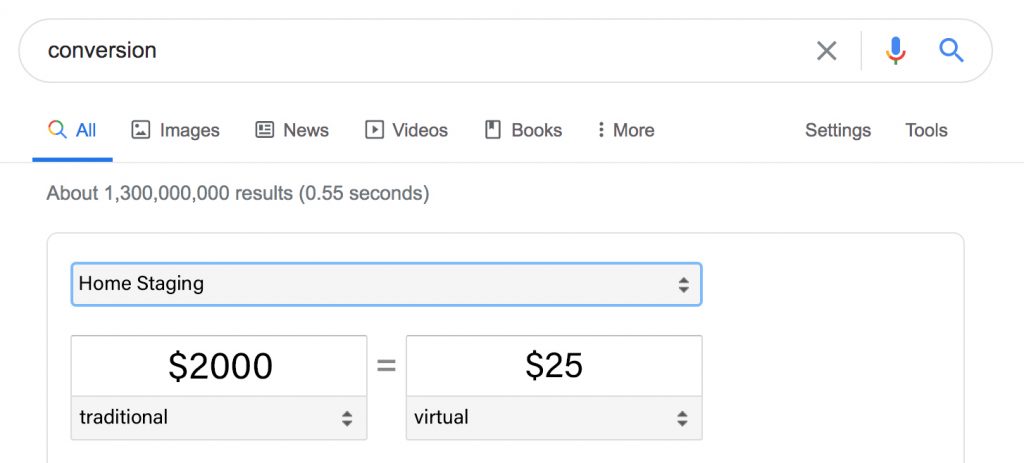
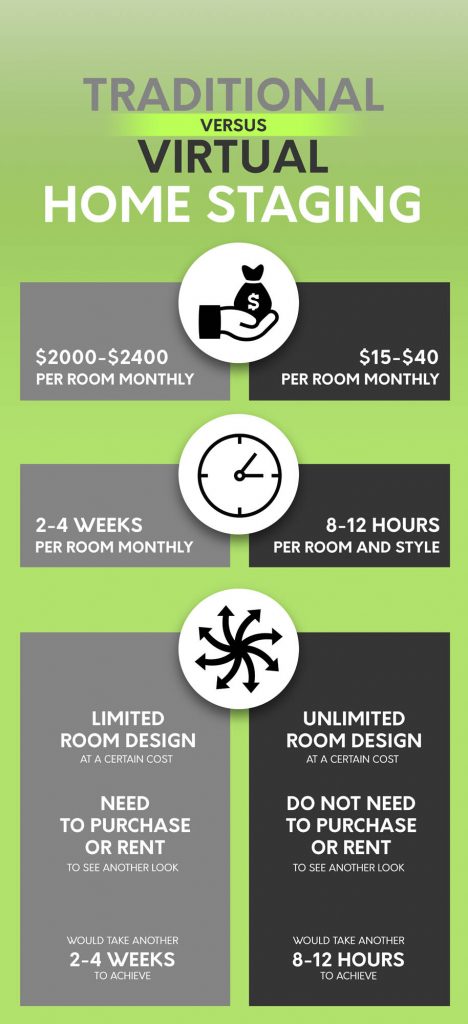
Traditional Home Staging Vs Virtual Home Staging
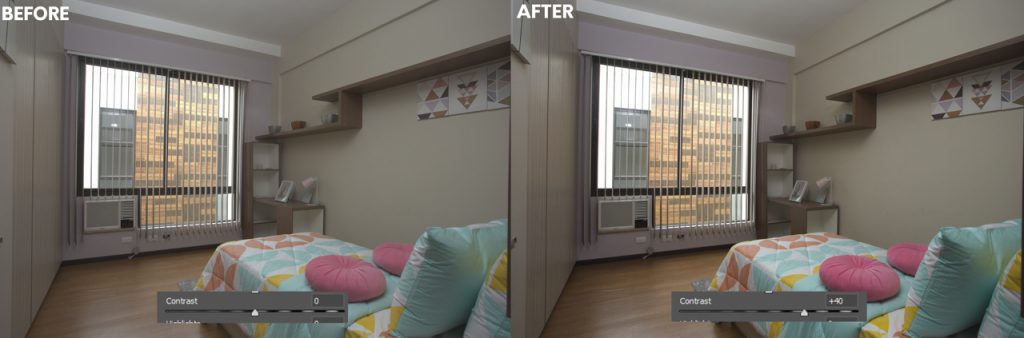
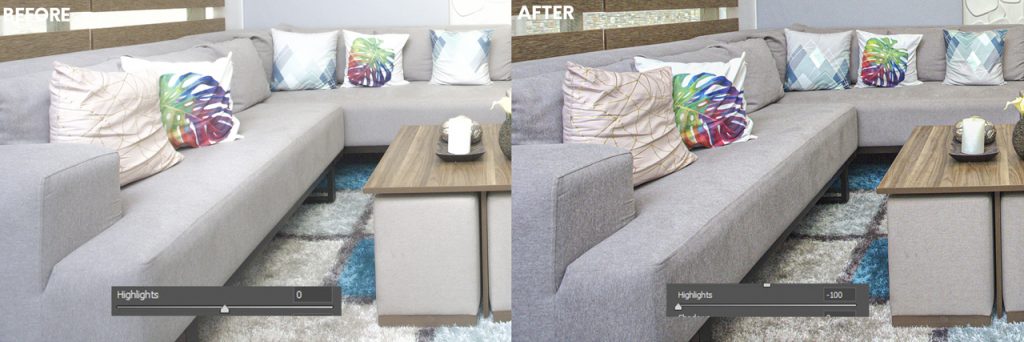
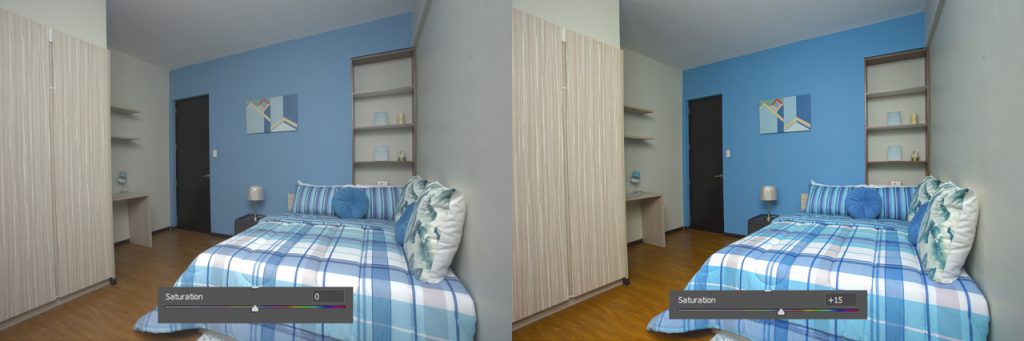
What is Real Estate Photo Editing? (Image Retouching 101)


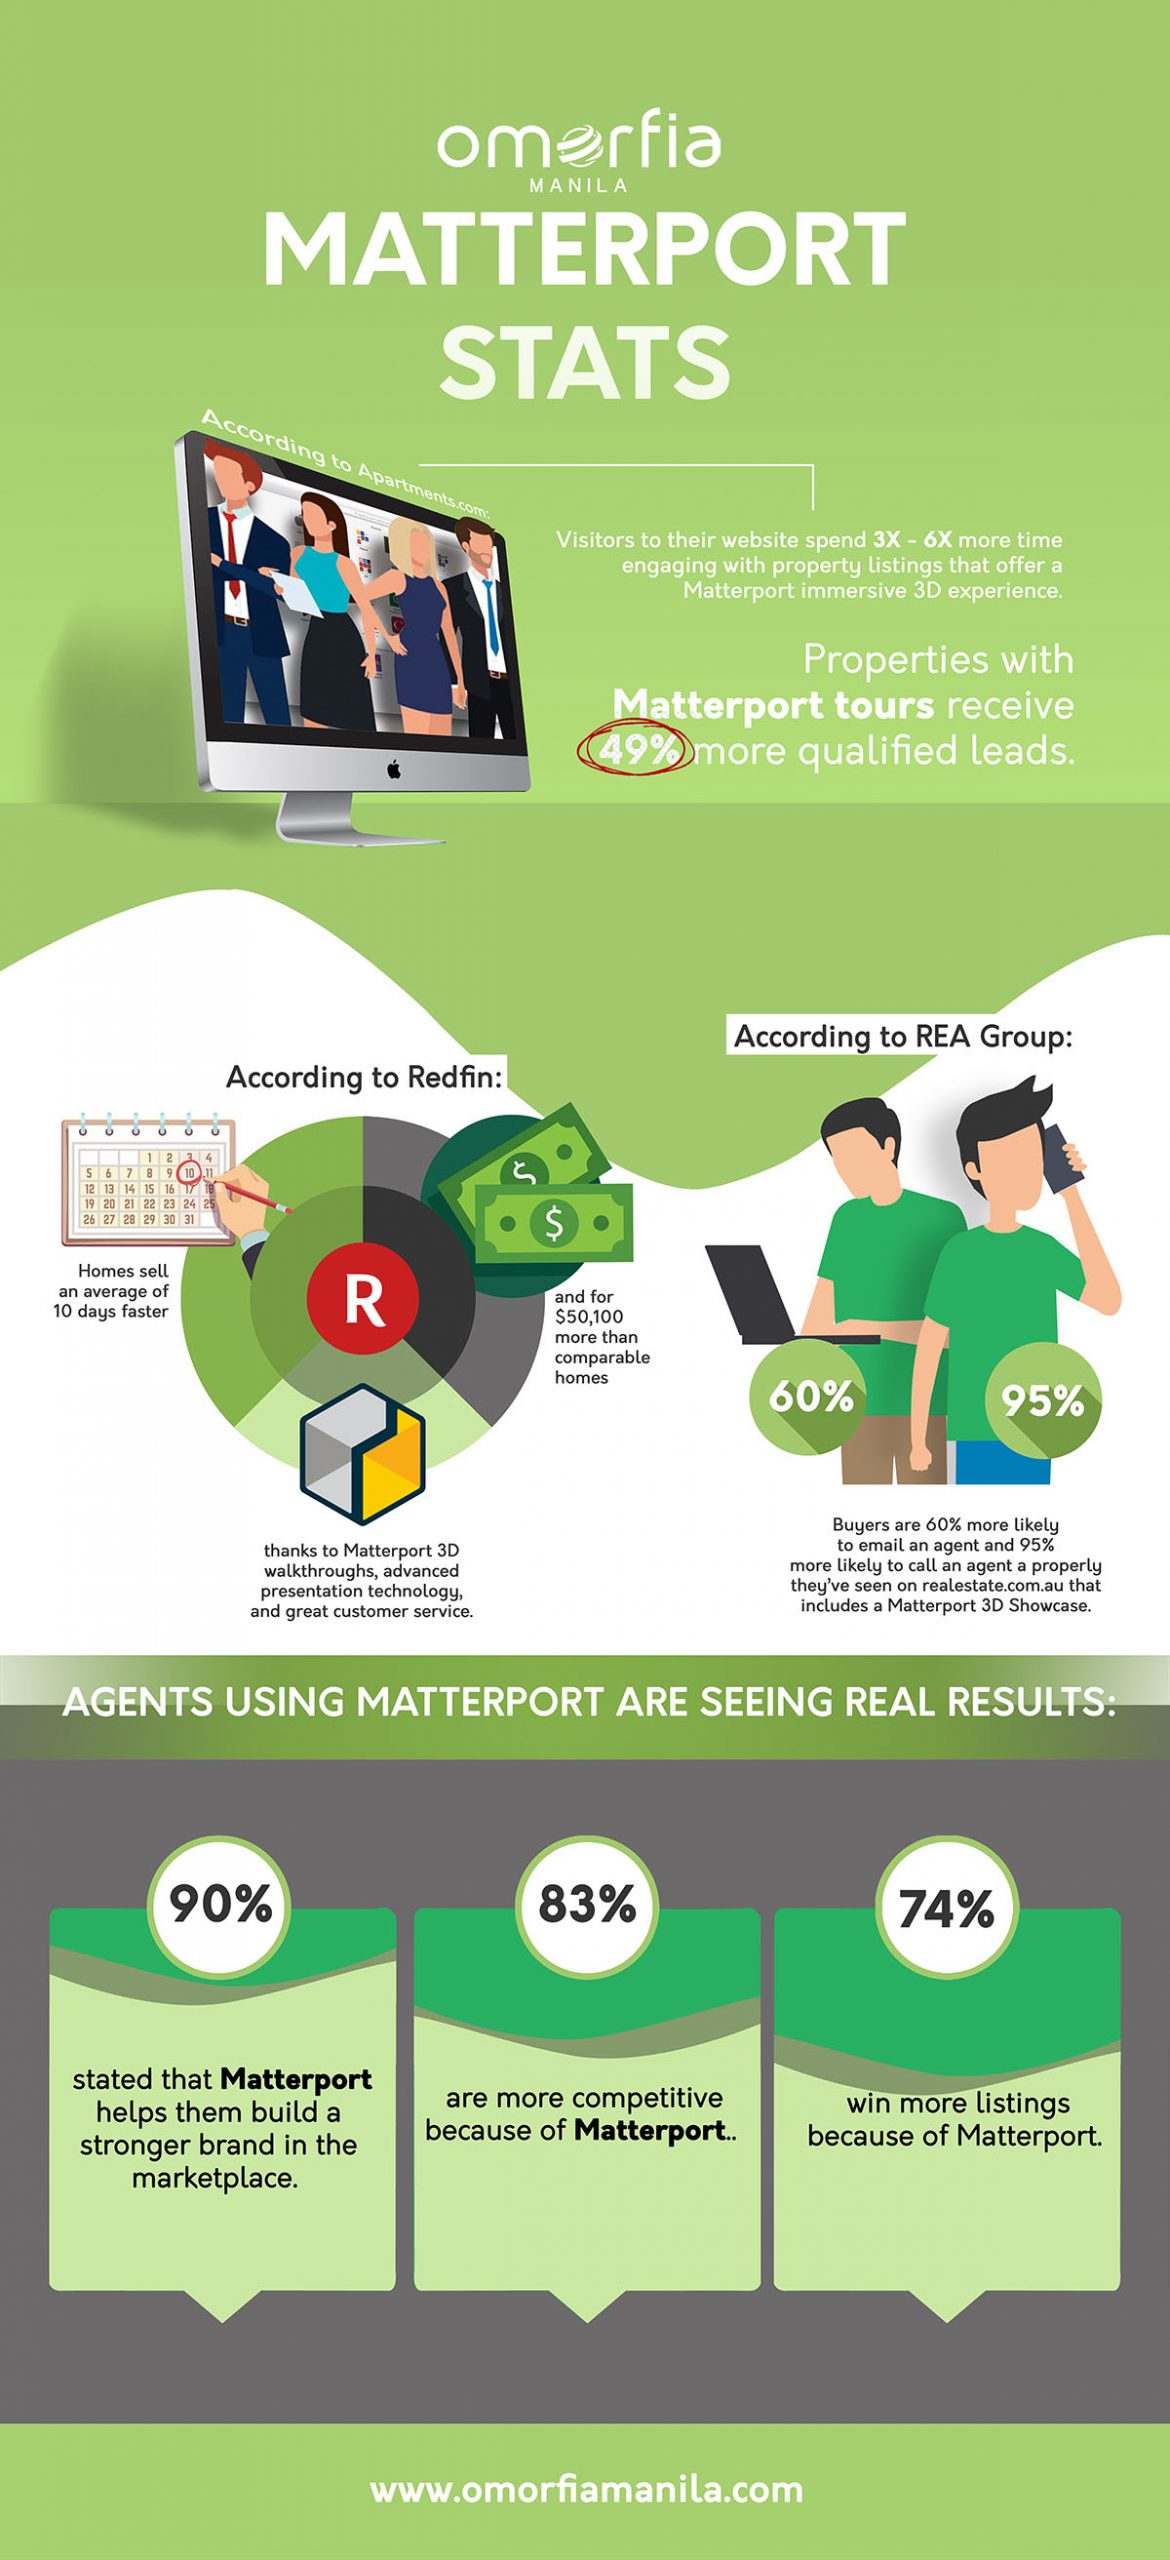
Should I Consider Using Matterport?
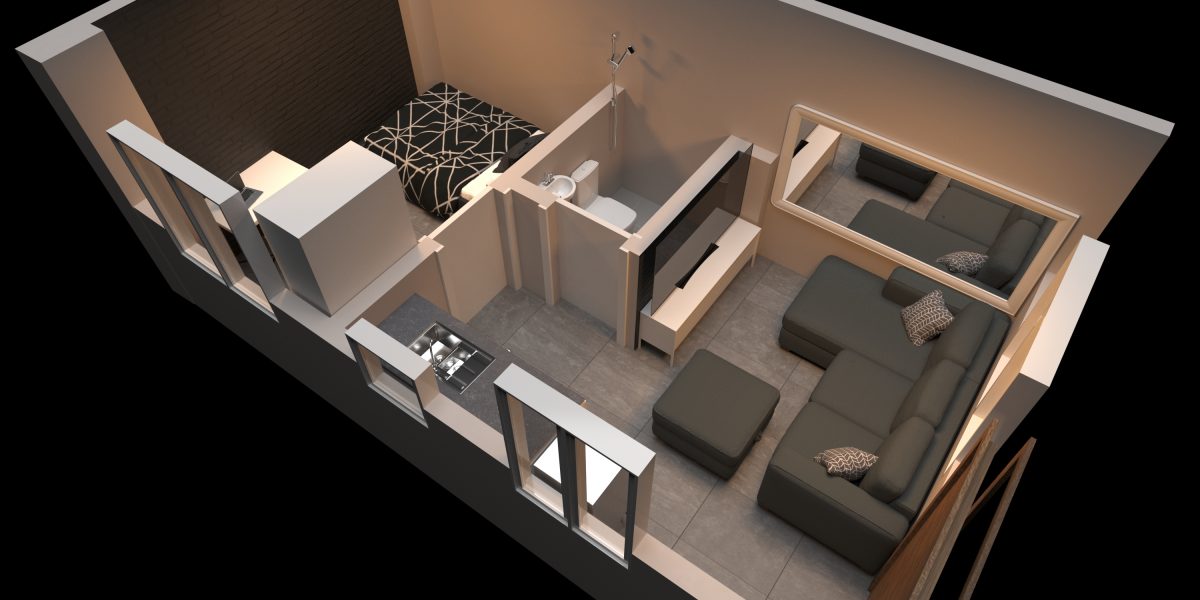
How To Create A Floor Plan Sketch
Bring necessary tools for measuring:
Measuring tools, pens, and paper.
No specific paper is required for you to sketch a floor plan. You should choose ei
ther graphing paper, or any ordinary bond paper. It’s just that, it’s more convenient to use a graphing paper rather than a plain bond paper. Same with the pen – no specific pen is required, but it’s better to use a multi-colored pen for clarity. Just assign a certain color for the walls, and dimensions. For the measuring tool, there are three types. The first and the most used is a tape measure. This is mostly used for measuring short to medium range distances. Tape measures available in the market has the length of 3 meters, 5 meters, and 10 meters. The second one is a measuring wheel. This a much longer than the tape measure. This can probably measure even a hundred-meter distance. This is recommended in measuring sites, and other long distances. The third is the laser meter. This has been a trend since the technology rises. Many people prefer using this tool because it is a lot easier and faster to use, and this is also handy. Laser meter comes with an electrical one, and a battery-operated one. You choose what is more convenient for you to use.
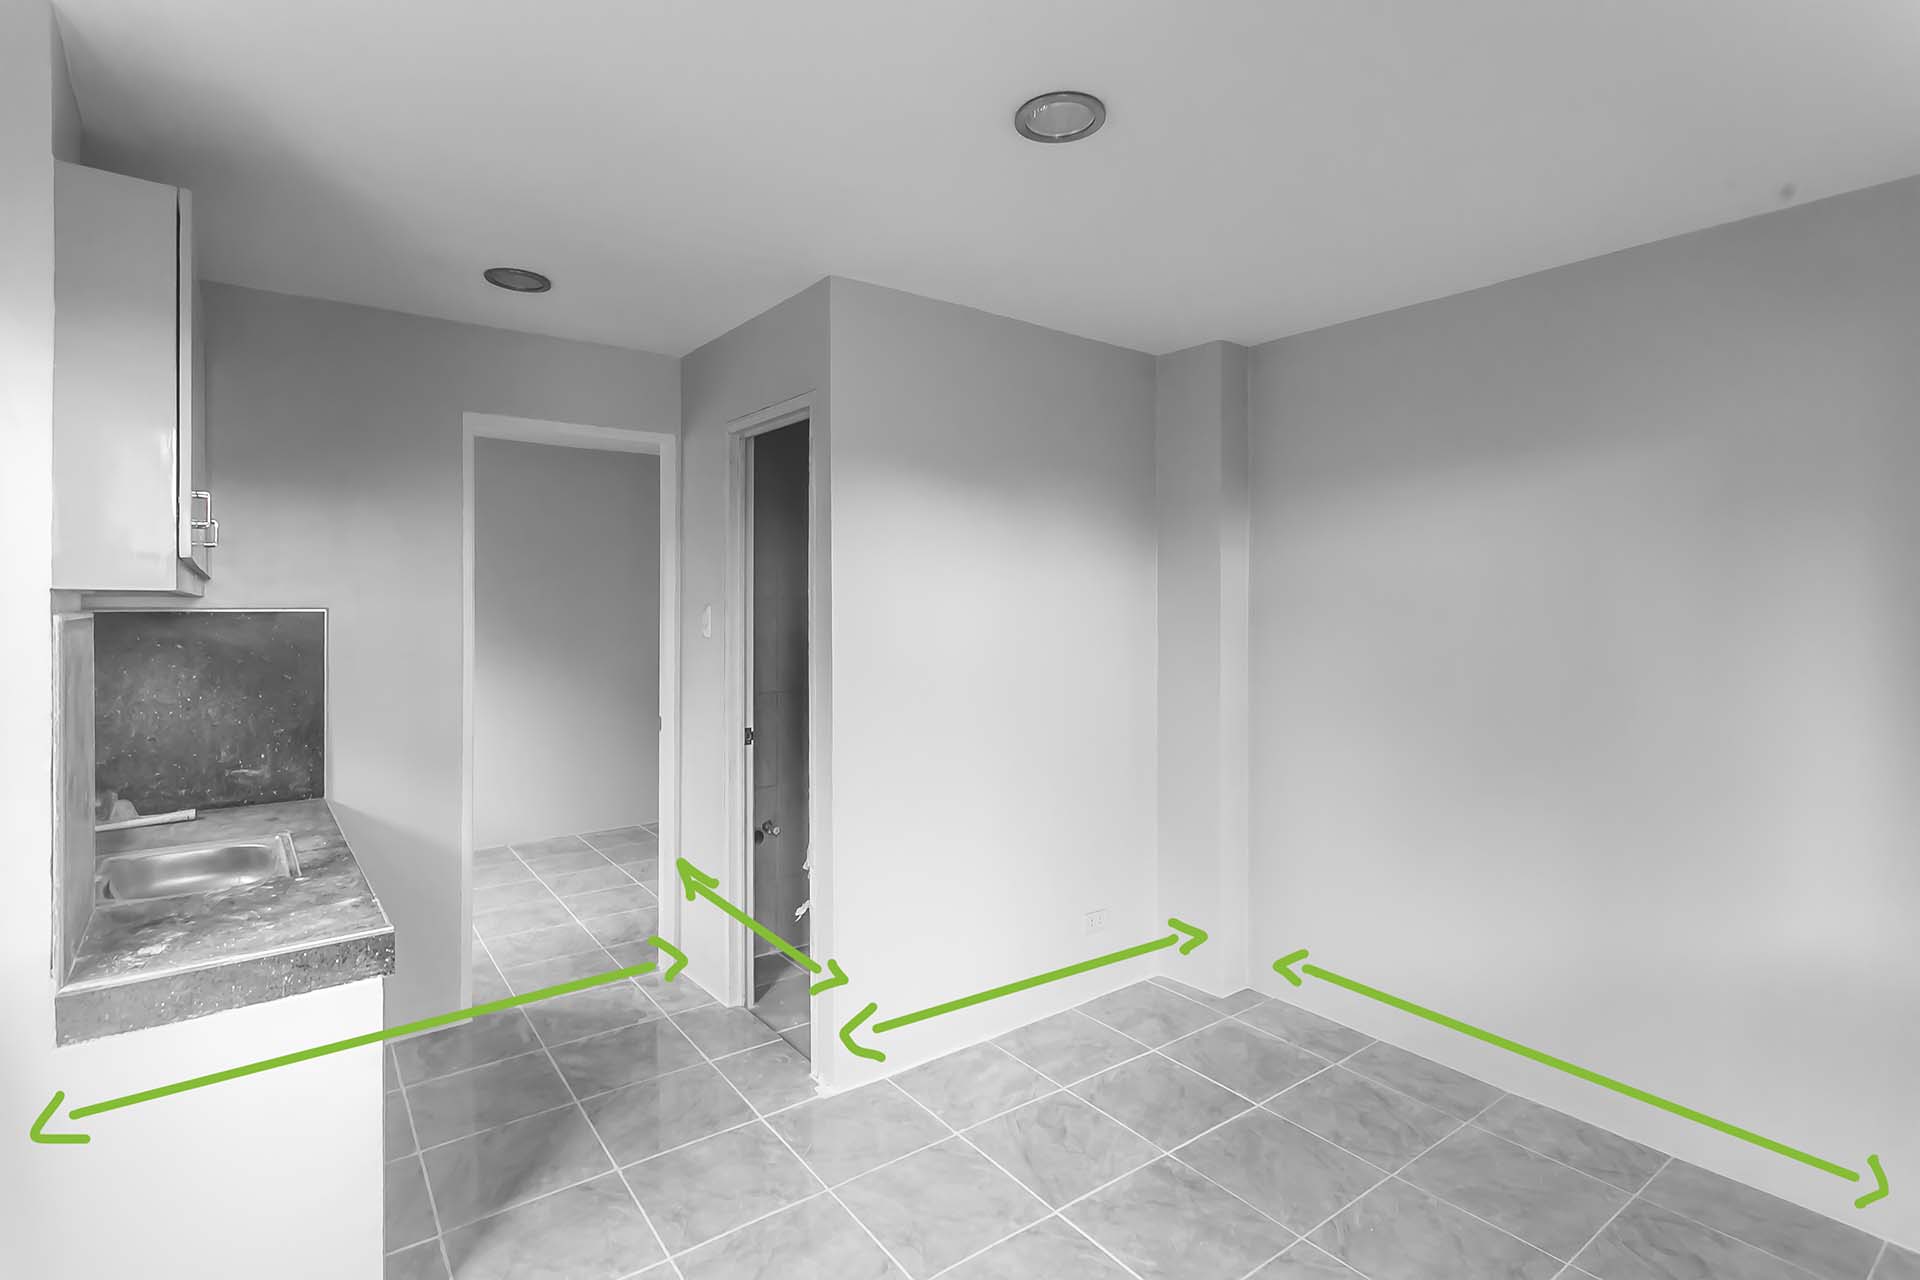
Start measuring and layouting.
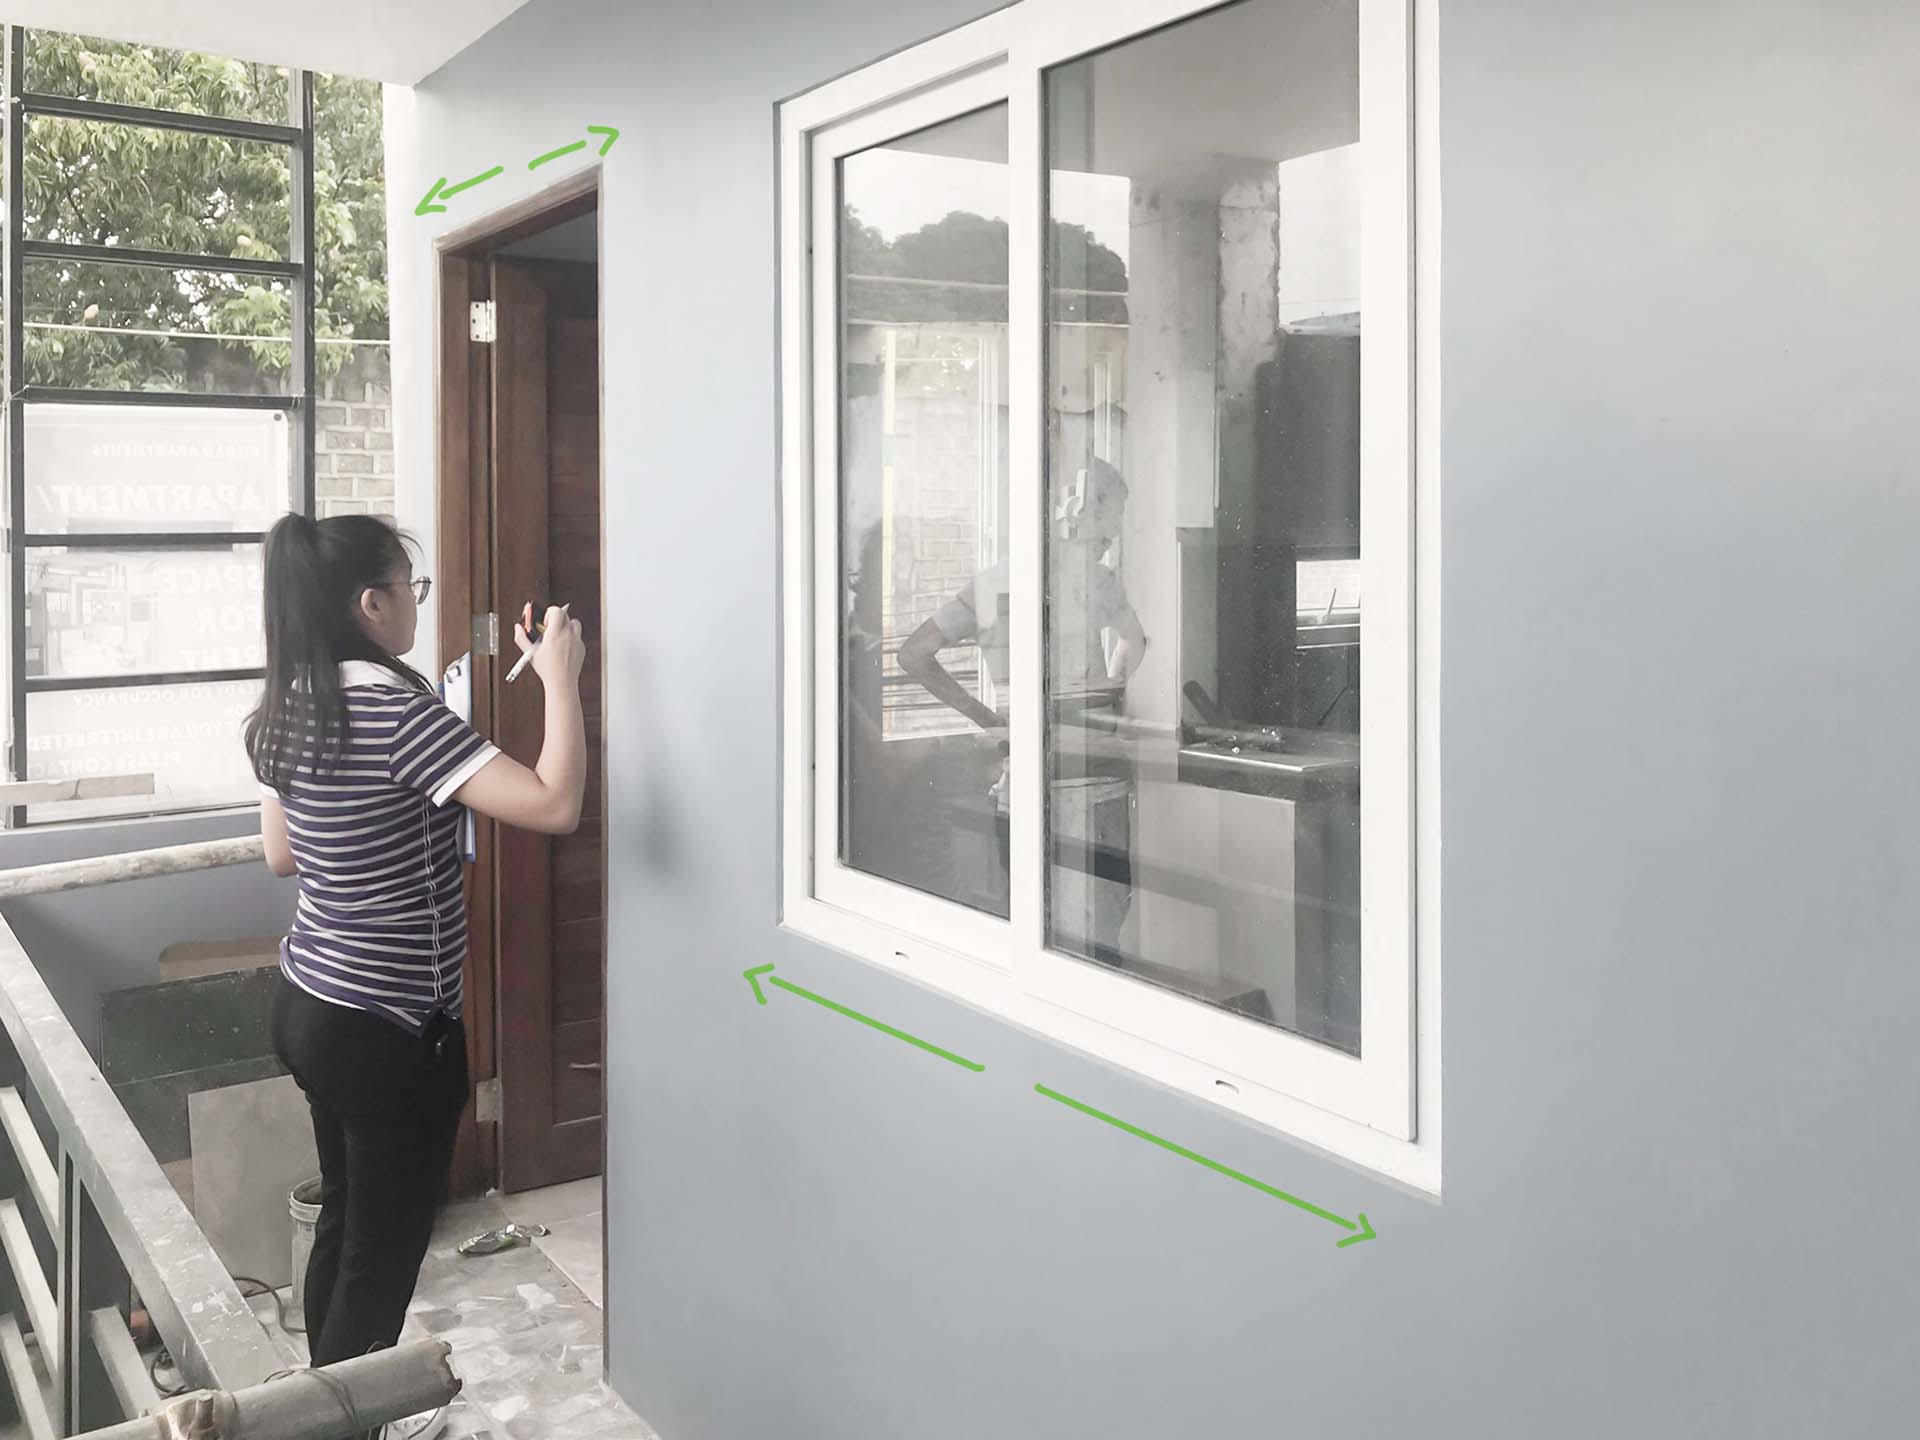
Start measuring and layouting the walls where your main entry is located. After measuring the walls, also measure and layout the doors and windows for the accuracy of its location in the plan. Second to measure is the room next to it, then just continue up until the last room. After finishing all the room in the property’s interior, measure the remaining spaces in the exterior.
If you are to use a graphing paper, assume that per grid is measured as 1 meter or 1 foot. But it still depends on the scale of the property you are measuring. You can use 0.20-0.50 meters per grid for bigger distances, or 2-5 meters per grid for smaller distances, as mentioned, depending on your choice of scale.