
7 Steps to Becoming a Wedding Photography Pro


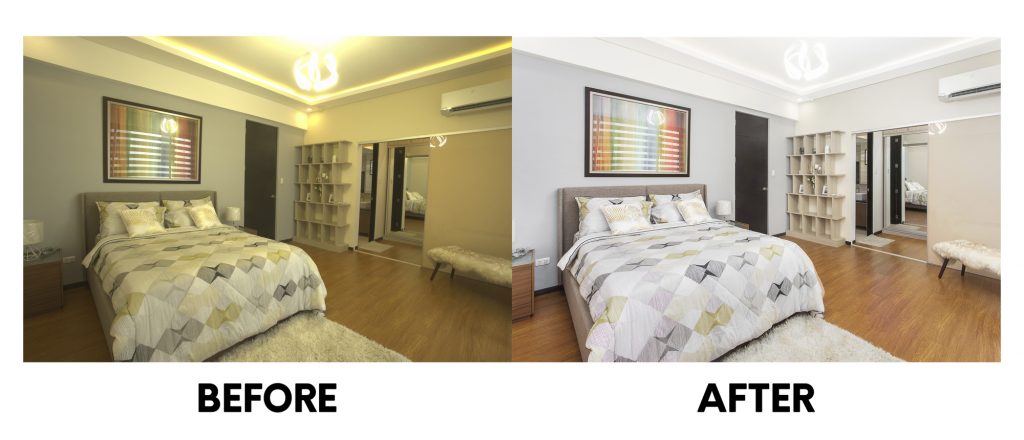
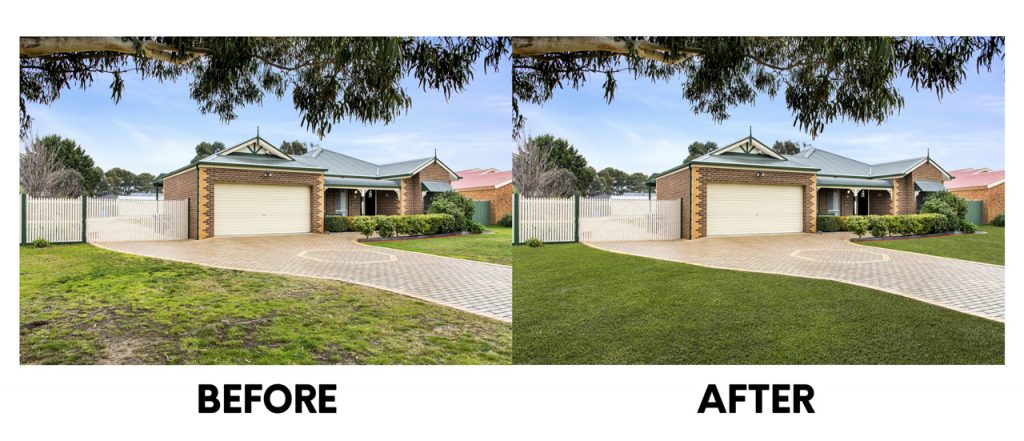
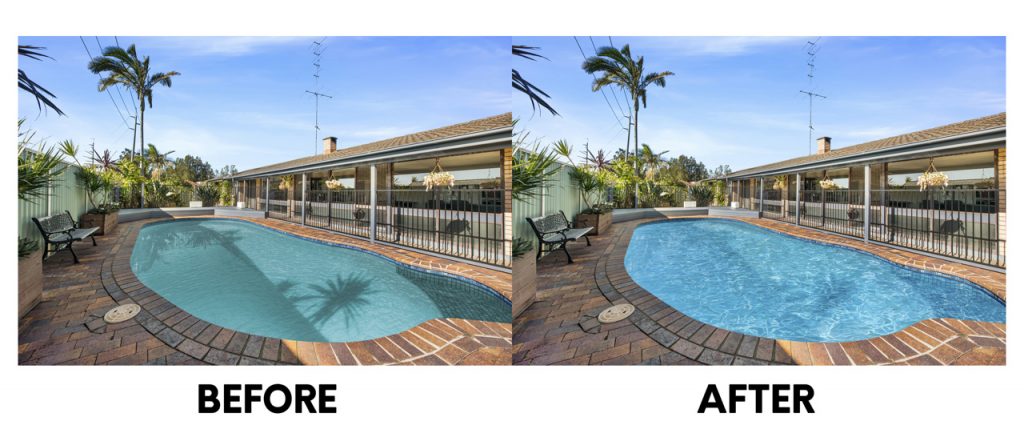
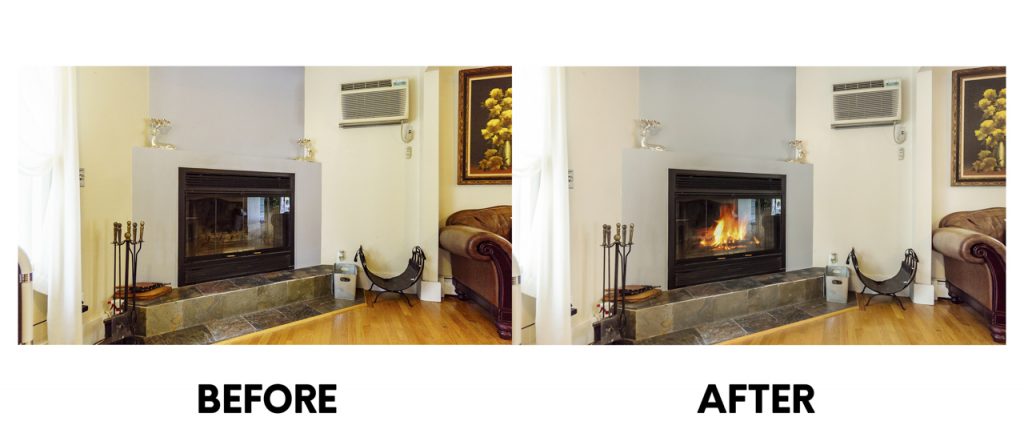
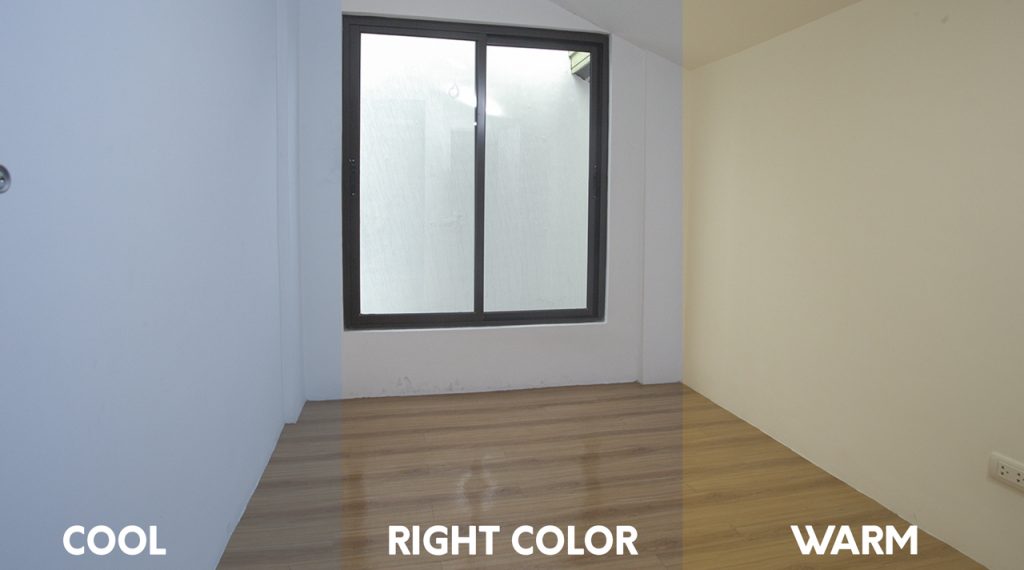
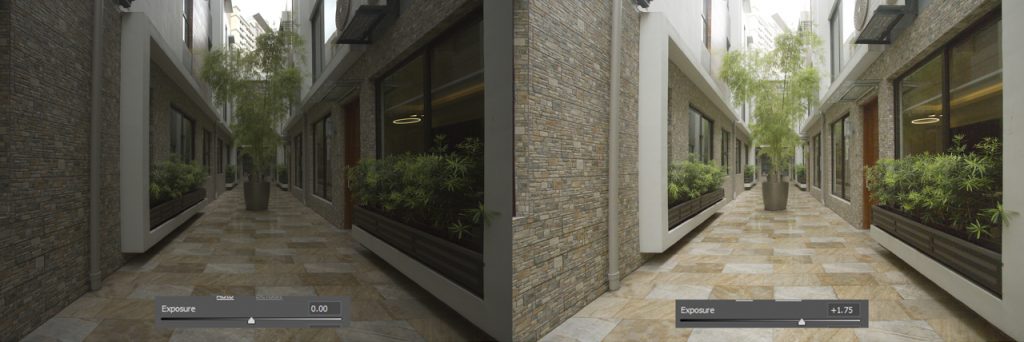
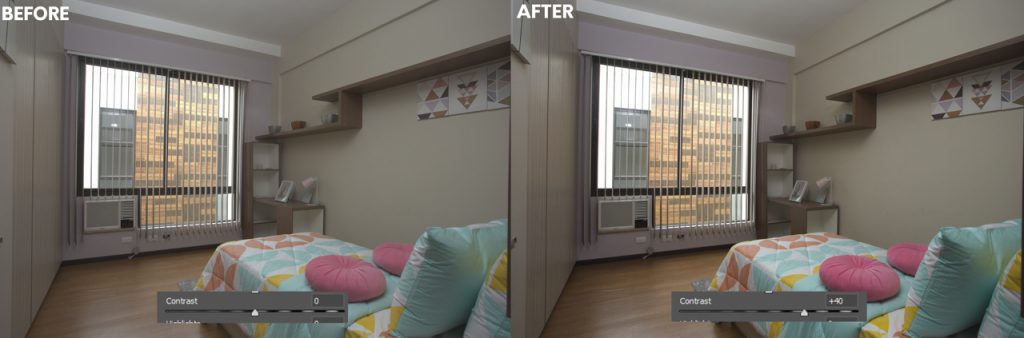
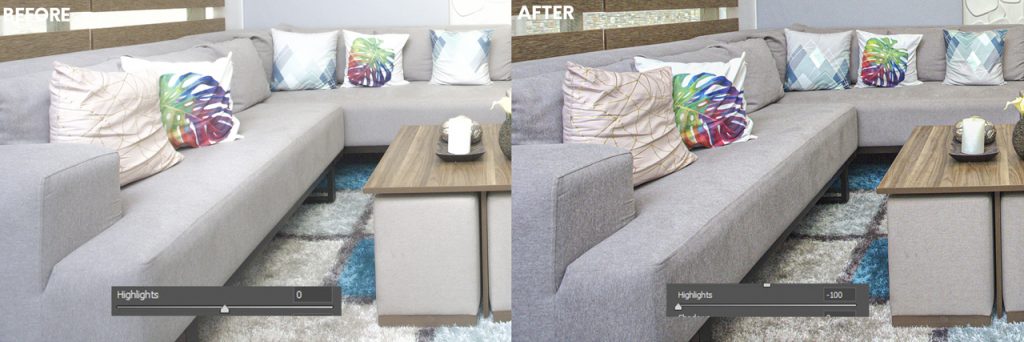
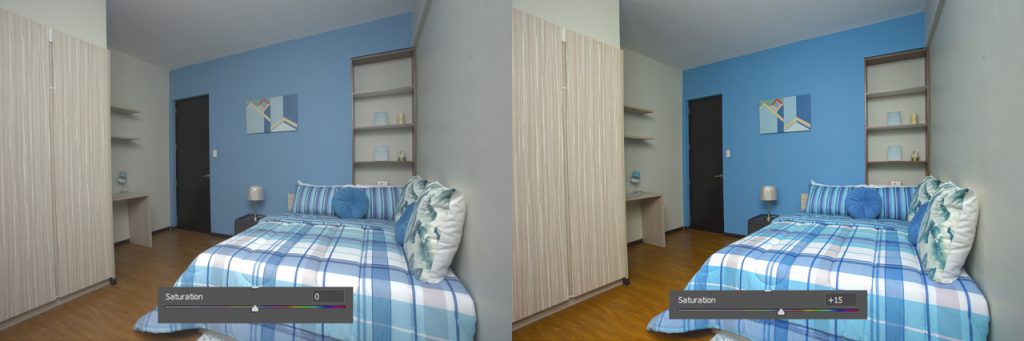
What is Real Estate Photo Editing? (Image Retouching 101)


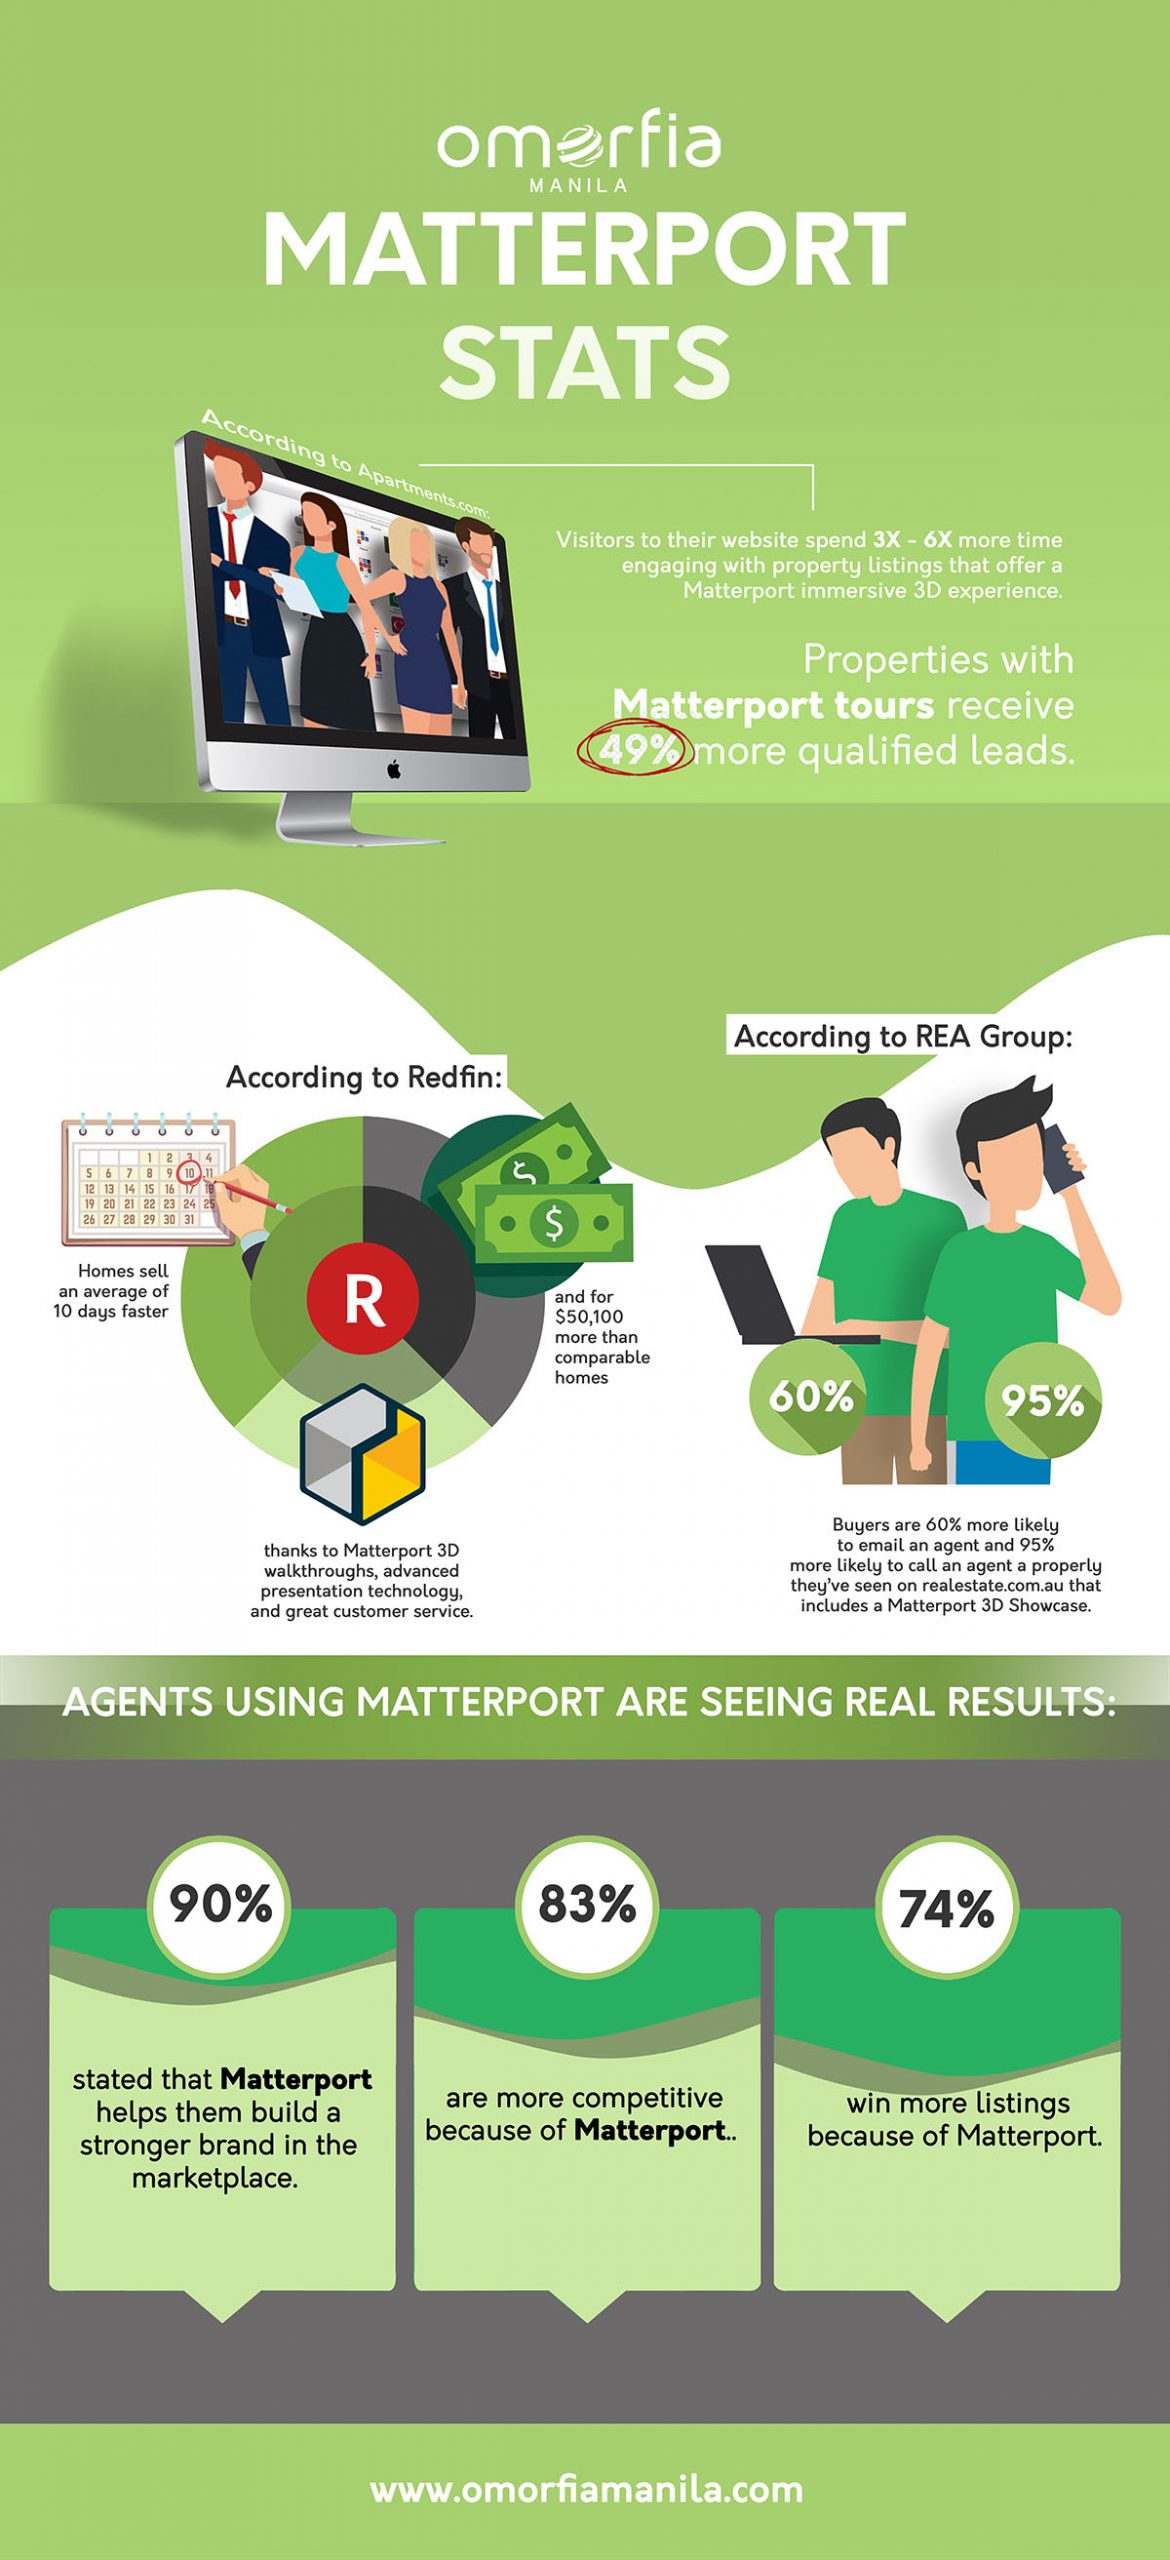
Should I Consider Using Matterport?
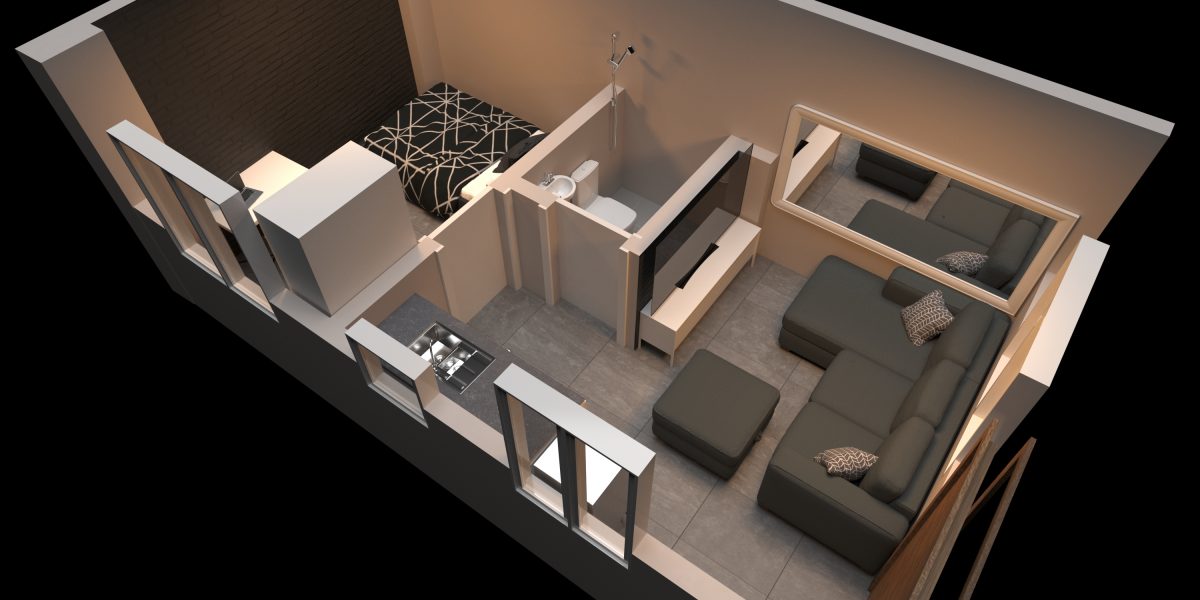
How To Create A Floor Plan Sketch
Bring necessary tools for measuring:
Measuring tools, pens, and paper.
No specific paper is required for you to sketch a floor plan. You should choose ei
ther graphing paper, or any ordinary bond paper. It’s just that, it’s more convenient to use a graphing paper rather than a plain bond paper. Same with the pen – no specific pen is required, but it’s better to use a multi-colored pen for clarity. Just assign a certain color for the walls, and dimensions. For the measuring tool, there are three types. The first and the most used is a tape measure. This is mostly used for measuring short to medium range distances. Tape measures available in the market has the length of 3 meters, 5 meters, and 10 meters. The second one is a measuring wheel. This a much longer than the tape measure. This can probably measure even a hundred-meter distance. This is recommended in measuring sites, and other long distances. The third is the laser meter. This has been a trend since the technology rises. Many people prefer using this tool because it is a lot easier and faster to use, and this is also handy. Laser meter comes with an electrical one, and a battery-operated one. You choose what is more convenient for you to use.
Start measuring and layouting.
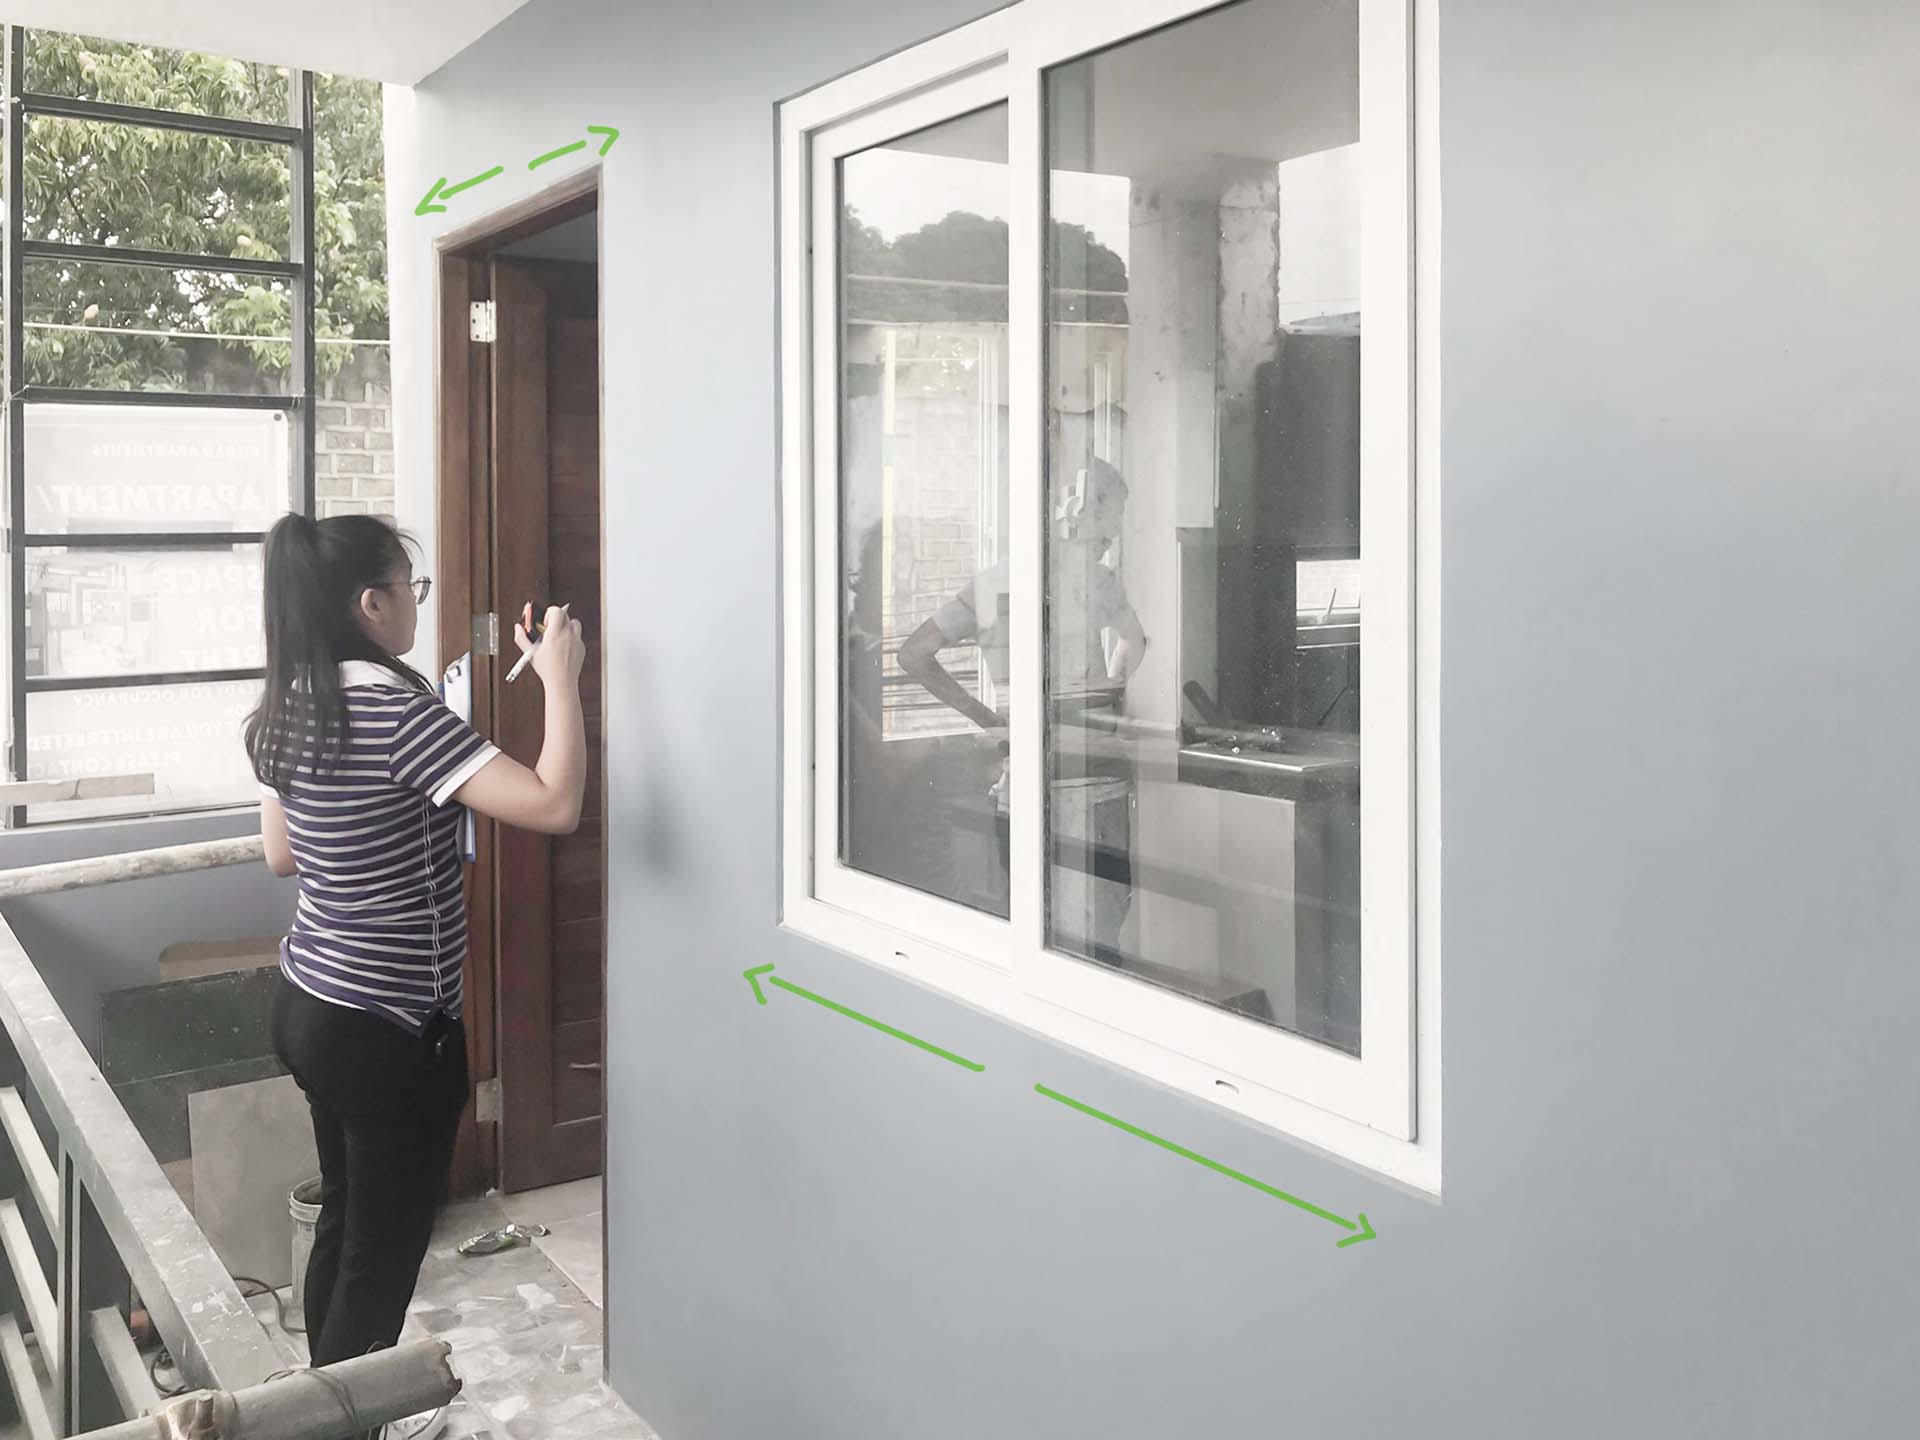
Start measuring and layouting the walls where your main entry is located. After measuring the walls, also measure and layout the doors and windows for the accuracy of its location in the plan. Second to measure is the room next to it, then just continue up until the last room. After finishing all the room in the property’s interior, measure the remaining spaces in the exterior.
If you are to use a graphing paper, assume that per grid is measured as 1 meter or 1 foot. But it still depends on the scale of the property you are measuring. You can use 0.20-0.50 meters per grid for bigger distances, or 2-5 meters per grid for smaller distances, as mentioned, depending on your choice of scale.
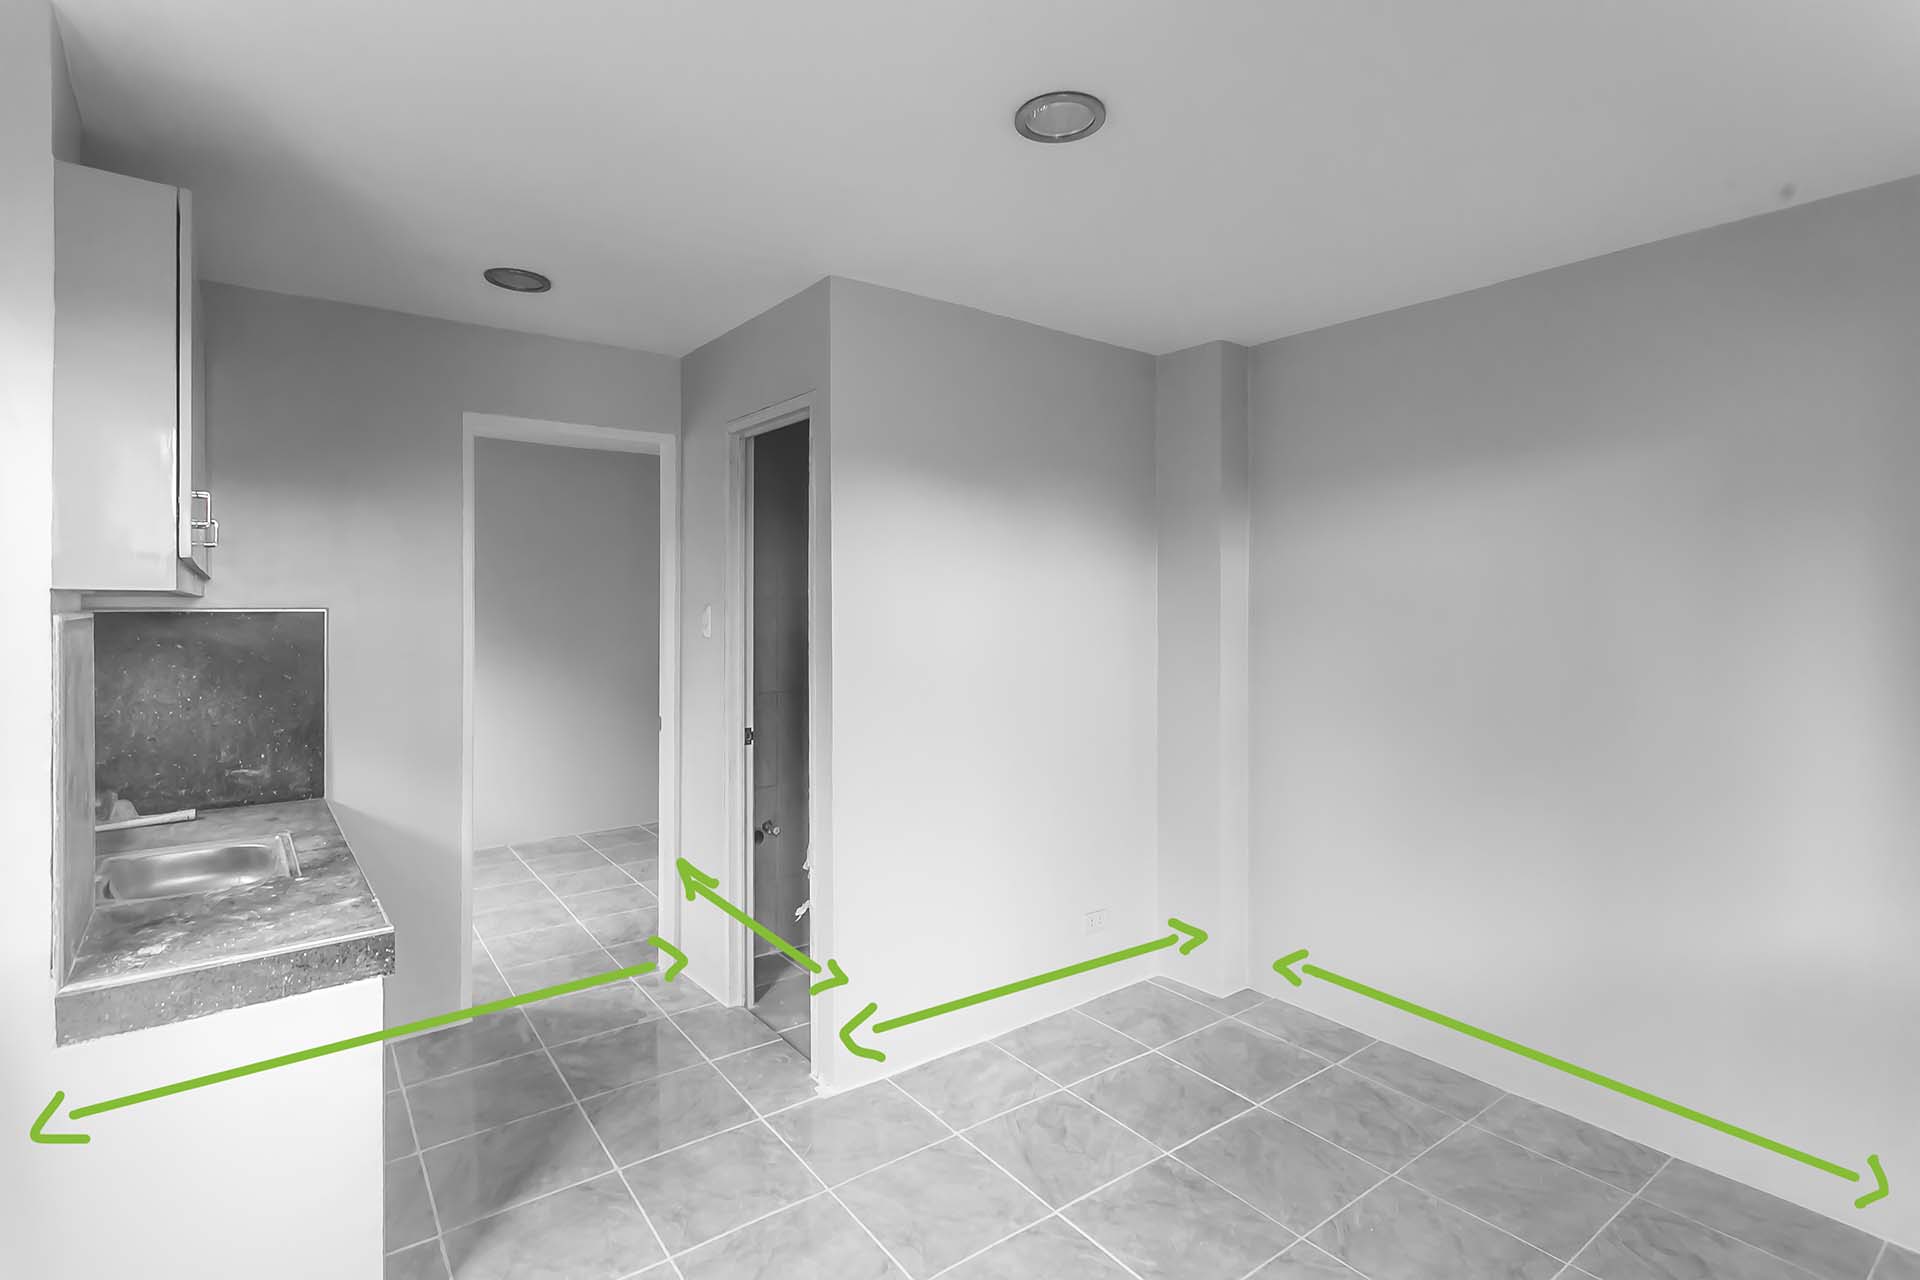
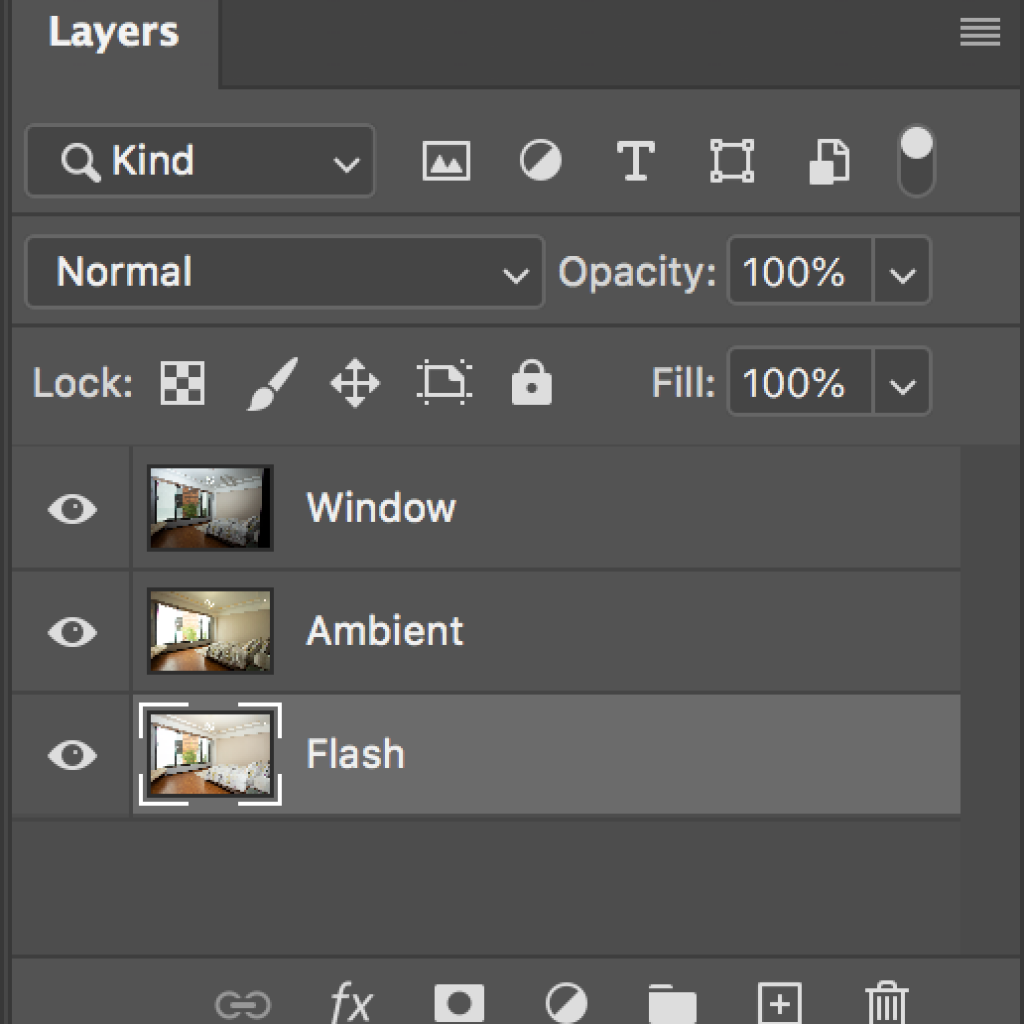
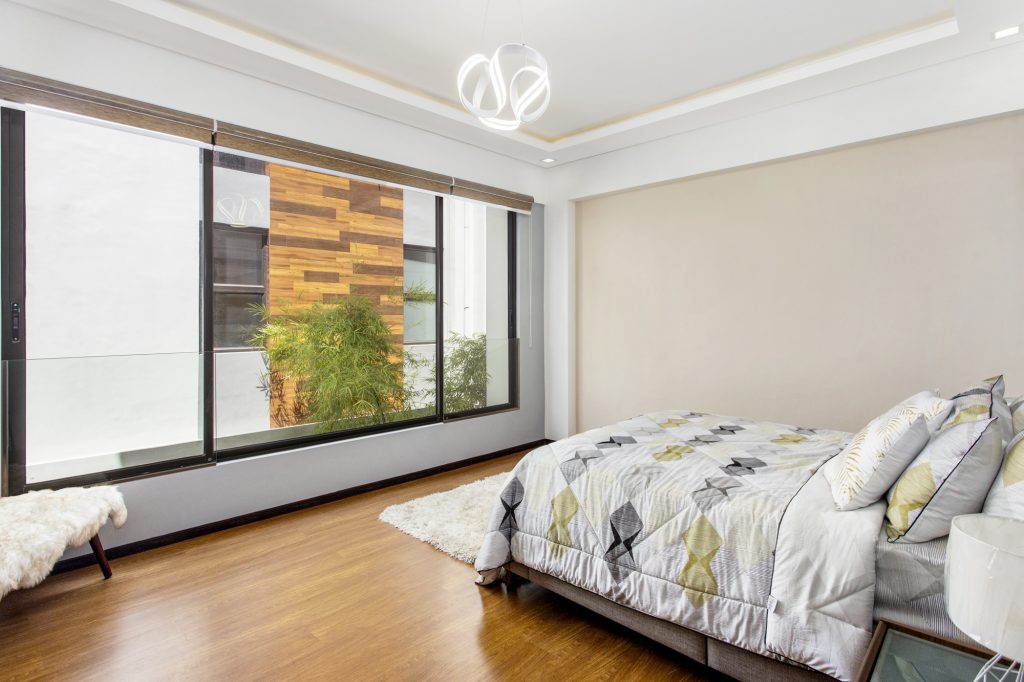
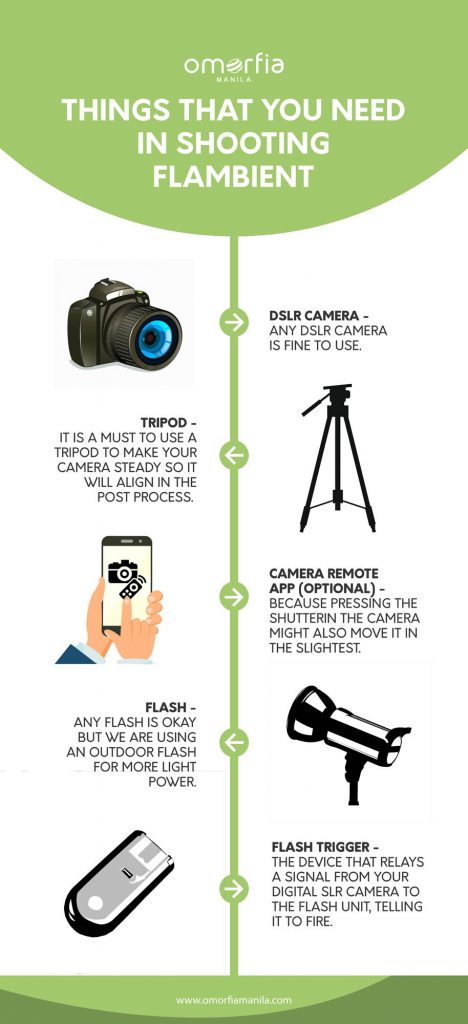
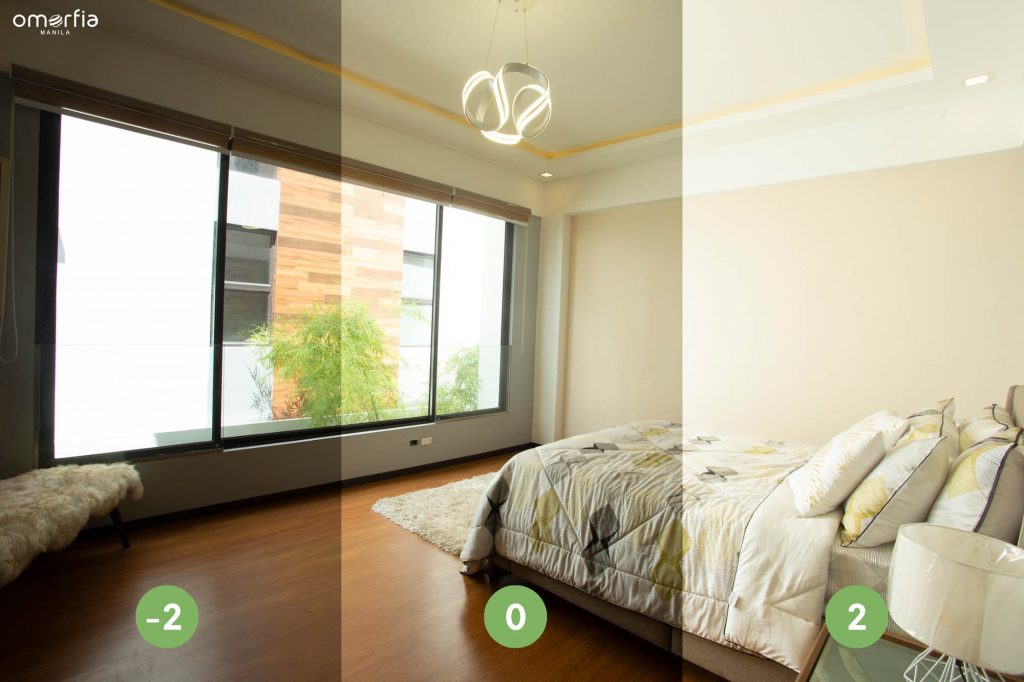
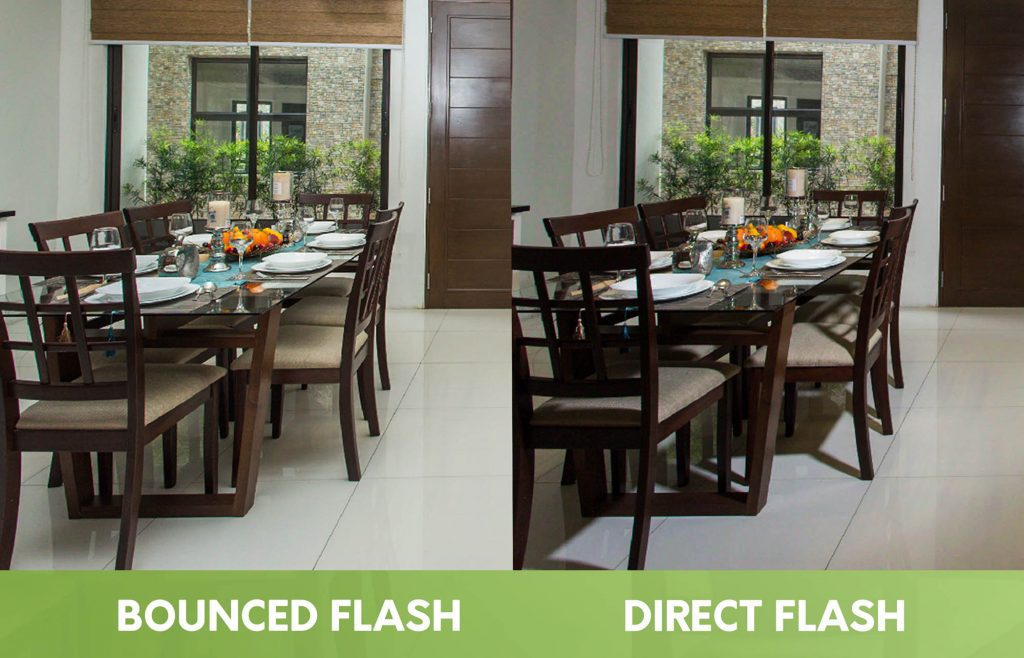
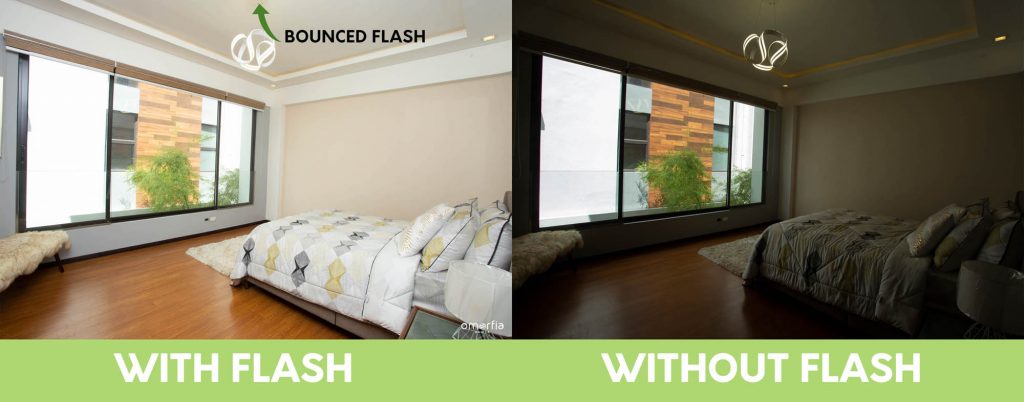
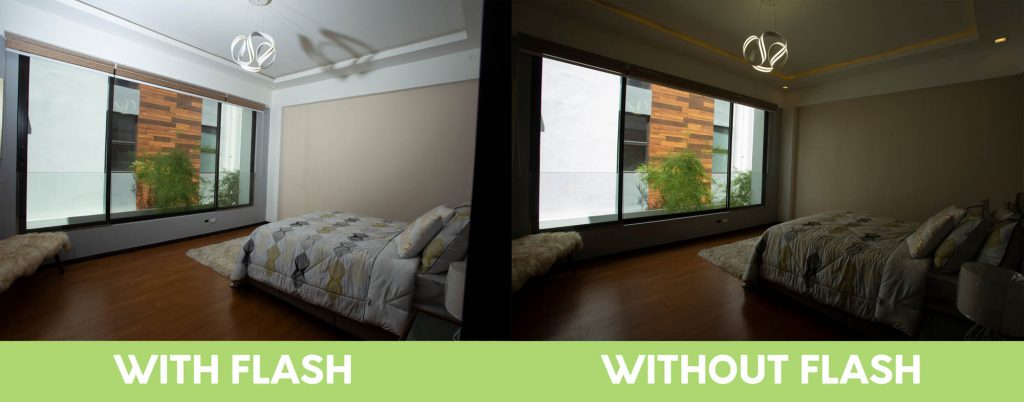
How To Shoot Flambient In Real Estate Photography

Is Outsourcing Helpful For Business?
Outsourcing have been patronized by many Real Estate Photography Businesses nowadays in different countries across the globe, like USA and Australia, simply because of the convenience they’re receiving from such outsourcing agencies.
3 Major Advantages of Real Estate Photography Outsourcing are as follows:
Money-Saver
Outsourcing does not require much of what a usual hired employee needs such as minimum wages, holiday pays, paid leaves, and more, which gives some photographers a cheaper expense when it comes to providing services for their clients.
Time-Saver
Given the fact that Real Estate Photographers are too busy doing their jobs capturing properties, they too are busy providing a much better output of their photographs to be given to their clients by retouching those they previously captured. Having those captured photographs outsourced to agencies doing such, makes their time for themselves more flexible. Also, they can cater a lot more agents, and they can have more properties to shoot.
Business Growth
As mentioned to the previous advantage, Real Estate Photographers can cater a lot more agents making their business grow even more.Outsourcing can give them more time to focus on the business they are pursuing. Less time to edit and retouch, more time to focus on the business itself.
Philippines is one of the many countries which definitely has outsourcing businesses. Omorfia is a must try for those who are looking for one. Omorfia offers Photo Retouching, Floor Plan Designing in 2D and in 3D, and Virtual Staging. To see more of their samples and their information, you can find them at this website: www.omorfiamanila.com, or you can directly message them through email: sales@omorfiamedia.com
READ MORE